Beyond the Chair: Operatory Ergonomic Configuration

The Foundation: Operator, Patient, and Chair Positioning
Effective operatory ergonomics begins not with the instruments, but with you. Establishing a neutral, balanced posture is the foundation upon which all other configurations are built. I often see practitioners hunched over, a habit that develops because their setup forces them into it. The goal is to bring the work to you, not the other way around.
Establishing Your Neutral Posture
Before the patient even sits down, your first adjustment should be to your own stool. Start with your feet flat on the floor and your thighs roughly parallel to it. This creates a stable base and promotes a healthy pelvic tilt, which is the starting point for a neutral spine. Many clinicians make the mistake of adjusting the patient chair first, then contorting their own body to fit. Always start with yourself as the fixed point.
Patient and Chair Alignment
Once your posture is set, bring the patient to the ideal treatment position. The key is to adjust the patient chair so their headrest supports the occiput and the occlusal plane of the treatment area is tilted approximately 10 to 15 degrees back from the horizontal. For a seated operator, this simple adjustment allows you to keep your neck flexion within a comfortable 10- to 20-degree range. Your elbows should be positioned about 5 to 10 cm above the patient’s mouth, allowing your arms to hang naturally from the shoulders without hunching.

Debunking a Common Ergonomic Myth
A frequent misconception is that a top-of-the-line ergonomic chair is a magic bullet for musculoskeletal pain. While a quality chair is important, it cannot compensate for a poorly organized operatory. I have seen countless colleagues invest in expensive seating only to continue suffering from neck and back strain. The reality is that ergonomics is a system. The chair is just one component in a complex relationship between the operator, the patient, and the placement of every piece of equipment. True ergonomic success comes from configuring the entire workspace in unison.
The Zone of Control: Instrument and Delivery System Layout
After establishing neutral posture, the next step is to arrange your instruments to eliminate unnecessary reaching and twisting. Every time you extend your arm awkwardly or hold a static, elevated shoulder posture, you contribute to cumulative strain. A well-designed instrument layout minimizes these movements.
The Primary and Secondary Work Zones
Think of your workspace in concentric zones radiating from the patient’s mouth. Your most frequently used instruments—such as your scaler, mirror, and high-speed handpiece—should reside in the primary work zone. This is the area within a 10 to 15 cm radius that you can reach with minimal forearm movement.
Secondary instruments, like a curing light or a less-used handpiece, belong in the secondary work zone, approximately 20 to 30 cm away. Placing instruments in these designated zones is a game-changer. It turns a chaotic reach into a predictable, efficient motion, drastically reducing the static load on your shoulder and upper back muscles throughout the day.
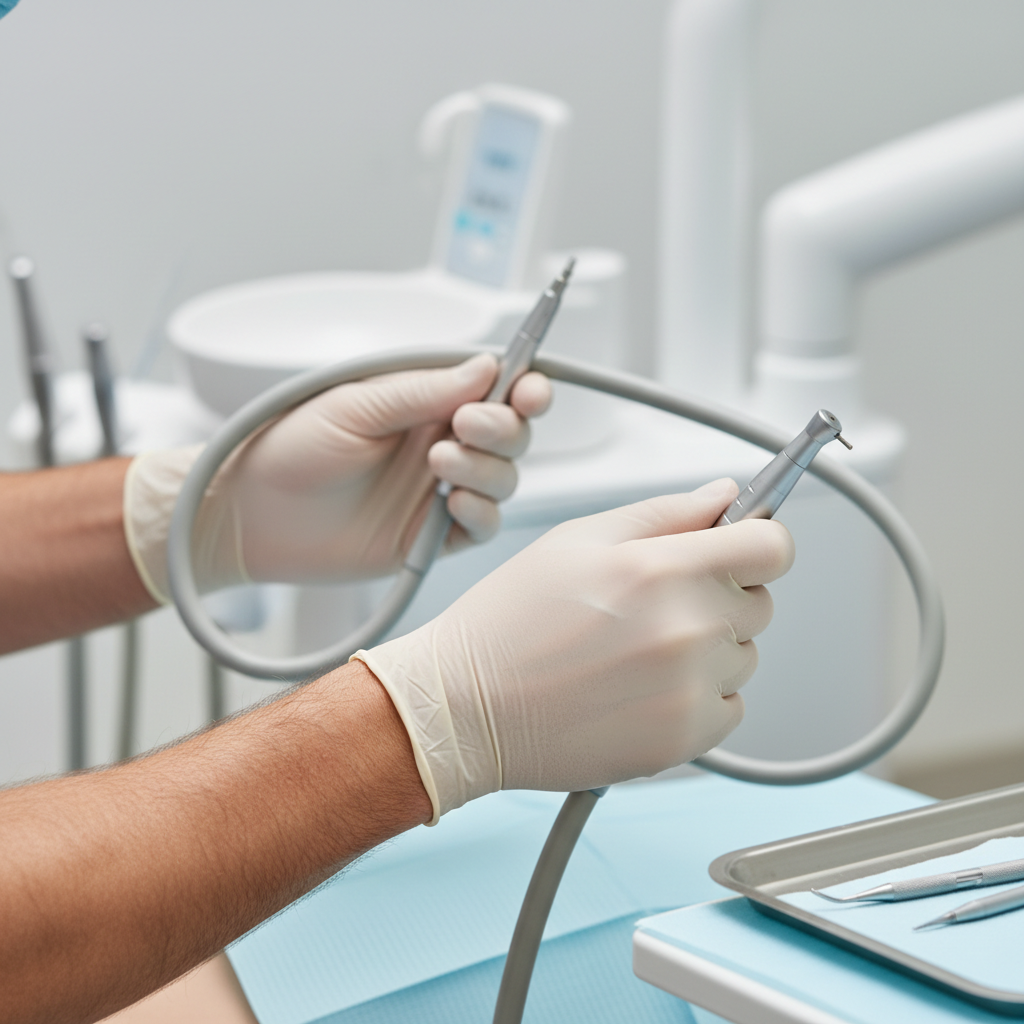
Taming the Hoses: Length and Management
One of the most overlooked sources of hand and wrist fatigue is hose drag. When a handpiece hose is too short or coils, it creates constant tension that your hand must fight against. The ideal hose length is around 50 to 60 cm, providing enough slack to maneuver freely without creating a tangled mess. This small detail can significantly reduce the force required to operate the instrument, preventing fatigue over the course of a long procedure.
Optimizing for Four-Handed Dentistry
In a team setting, ergonomic principles extend to the assistant. The assistant’s stool should be positioned approximately 2 to 4 cm lower than the operator’s. This height difference provides a clear line of sight into the oral cavity and ensures both practitioners can maintain a neutral posture. Furthermore, routing suction lines centrally helps avoid awkward cross-body reaching by the assistant, making instrument transfers smoother and more efficient for the entire team.
Optimizing the Ancillary Environment
Beyond the chair and delivery unit, the broader operatory environment plays a crucial role in your long-term health and daily efficiency. Lighting, foot controls, and even your schedule can be optimized for better ergonomic outcomes.
Lighting and Vision
Proper illumination is an ergonomic tool. When your dental light is correctly aligned, it illuminates the treatment area without creating shadows, allowing you to see clearly without craning your neck or leaning in. I used to end my days with a stiff neck, not realizing the cause was my light being slightly off-axis, forcing me to constantly adjust my posture to see properly. Take the time before each procedure to align your light; it protects both your vision and your spine.
Foot Controls and Accessibility
The placement of your rheostat or foot pedal is just as important as your hand instruments. It should be positioned directly under your dominant foot, with about 10 to 20 cm of lateral freedom. This allows you to activate it without twisting your leg or hip, a subtle movement that, when repeated hundreds of times a day, can lead to lower back and hip pain. Ensure the cord is long enough that you can reposition it easily as you move around the patient.
Building Movement into Your Workflow
Static posture is the enemy of musculoskeletal health. Even a perfect neutral posture, held for too long, will cause muscle fatigue. The key is to incorporate movement throughout the day. Adopt a routine of taking 20 to 30-second microbreaks every 20 to 30 minutes. During these pauses, stretch your neck, roll your shoulders, or simply look away from the patient. Between procedures, schedule longer posture resets to stand up, walk around, and reset your body.
A Practical Checklist for Operatory Configuration
To help you apply these principles, here is a structured checklist to audit and optimize your own operatory. Use it as a guide to make iterative, impactful changes.
| Component | Checkpoint | Rationale |
|---|---|---|
| Operator Stool | Are your feet flat on the floor with thighs parallel? | Establishes a neutral pelvic and spinal foundation. |
| Patient Chair | Is the occlusal plane 10-15° from horizontal? | Reduces operator neck flexion to a healthy 10-20° range. |
| Operator-Patient Proximity | Are your elbows 5-10 cm above the patient’s mouth? | Prevents shoulder hunching and static arm fatigue. |
| Primary Instruments | Are they within a 10-15 cm reach? | Minimizes twisting and excessive reach for high-frequency tools. |
| Secondary Instruments | Are they within a 20-30 cm reach? | Keeps less-used items accessible without introducing strain. |
| Handpiece Hoses | Are they ~50-60 cm long with no noticeable drag? | Reduces the pull on your wrist and prevents hand fatigue. |
| Assistant Stool | Is it positioned 2-4 cm lower than the operator’s? | Ensures a clear line of sight and ergonomic access for the team. |
| Foot Control | Is it directly under your dominant foot with easy access? | Prevents leg and hip strain from awkward, repetitive motions. |
| Operatory Light | Is it aligned to eliminate shadows without you leaning? | Protects your vision and prevents postural compromises. |
Maintaining Your Ergonomic Setup: A Continuous Process
An ergonomic operatory is not a “set it and forget it” project. It is a dynamic system that requires ongoing attention. Equipment shifts, and habits can drift back to old patterns. To ensure long-term success, commit to a regular maintenance and review schedule.
Perform monthly verifications of your delivery arm tension, hose retraction mechanisms, and light alignment. More importantly, listen to your body. If you start to feel persistent discomfort, don’t ignore it. Track the issue and be willing to experiment. Try a new layout for a one-week trial before finalizing the change. This iterative process of refinement is crucial for sustainable practice.
This commitment to maintenance aligns with the principles of robust quality management systems. Standards like ISO 13485:2016 and the FDA’s Quality System Regulation emphasize that medical equipment must be properly maintained to ensure it performs safely and effectively. While these regulations are about patient safety, their principles of process control and equipment upkeep are directly applicable to maintaining an ergonomic environment for the practitioner.
Key Takeaways
Ultimately, extending your career, improving your daily comfort, and boosting your clinical efficiency all hinge on your ability to look beyond the dental chair. True operatory ergonomics is a holistic system that encompasses your posture, your patient’s position, your instrument layout, and your workflow habits. By consciously configuring every element of your workspace, you move from fighting your environment to making it work for you. This proactive approach is one of the most valuable investments you can make in your long-term health and professional success.
Disclaimer: This article is for informational purposes only and does not constitute professional medical advice. The ergonomic recommendations provided are general guidelines and may not be suitable for everyone. Individuals with pre-existing musculoskeletal conditions or other health concerns should consult a qualified physician or physical therapist before implementing new ergonomic practices.
References
About the Author


