Reducing Procedure Times with an Integrated Chair

The Integrated Hub: Turning Your Dental Chair into an Efficiency Engine
Time is the most valuable, non-renewable resource in a dental practice. Every minute spent on a procedure, transitioning between patients, or wrestling with disorganized equipment directly impacts productivity and, ultimately, clinic revenue. While many factors contribute to workflow efficiency, the dental chair itself has evolved from a simple piece of patient furniture into a sophisticated, integrated technology hub. By strategically leveraging these integrations, clinics can streamline workflows, reduce manual steps, and significantly shorten procedure times.
I’ve seen many practices invest in expensive standalone technologies, only to find them adding to the clutter and complexity. The real breakthrough comes not from a single fast gadget, but from making the entire operatory work in harmony. This article explores the specific technological integrations in modern dental chairs that deliver tangible efficiency gains. We will examine how to transform your chair into a central command station that enhances ergonomics, simplifies digital processes, and boosts overall productivity.
1. The Foundation of Speed: Core Ergonomics and Centralized Control
Before adding a single screen or camera, the core functionality of the chair itself must be optimized for efficiency. Reducing the physical movements an operator has to make—even small, repetitive ones—is the first step toward shorter procedure times. This is where centralized controls and programmable presets create a powerful foundation.
Programmable Chair Positions
One of the most significant yet simple time-savers is the use of programmable position presets. Instead of manually adjusting the chair height, backrest angle, and tilt for every patient and every stage of a procedure, you can program specific, commonly used positions. For instance, a practitioner can set presets for:
- Entry/Exit: An upright position that makes it easy for patients to get in and out of the chair.
- Working Position 1 (Maxillary): The ideal angle and height for procedures on the upper arch.
- Working Position 2 (Mandibular): An adjusted position for optimal access to the lower arch.
- Rinsing Position: A comfortable, semi-reclined position for patient rinsing.
I used to lose 30 to 60 seconds per patient just fiddling with manual chair controls. With presets, a single button press completes the adjustment in seconds. For a clinic seeing 20 patients a day, that’s up to 20 minutes of reclaimed time, which can easily accommodate an extra consultation or allow for more thorough patient communication.
Integrated Foot Controls
The next layer of efficiency is the integrated foot control. A well-designed foot pedal or joystick allows the operator to adjust chair positioning, activate handpieces, and control suction without ever needing to look away from the oral cavity or remove their hands from the operating field. This uninterrupted focus is critical. Every time you have to reach for a button on the chair base or delivery unit, you create a micro-interruption that breaks concentration and adds seconds to the clock. Advanced foot controls consolidate these functions, making the workflow seamless and intuitive.

2. Streamlining Digital Dentistry at the Point of Care
The modern dental practice is a digital environment. From patient records to intraoral imaging and treatment planning, technology is everywhere. An integrated chair serves as the docking station for these digital tools, bringing them directly to the point of care and eliminating the need for separate carts or workstations that create clutter and inefficiency.
The Role of Integrated Monitor Mounts
A monitor mount is arguably the most important integration for a digital workflow. However, its effectiveness depends entirely on its placement. A common mistake I see is locating the monitor too far to the side, forcing the operator and assistant into constant head rotation, which causes neck strain and wastes time. For optimal ergonomics and efficiency, the monitor should be positioned within a 40–60 cm distance from the operator’s eyes and at a 0–15° downward tilt. This allows for quick, at-a-glance viewing of patient charts, radiographs, or intraoral camera feeds without breaking posture. Proper integration is also a key part of balancing patient comfort and practitioner ergonomics.
This immediate access to visual information is invaluable for patient education. Showing a patient a clear image from an intraoral camera on a large, well-placed screen is far more impactful than trying to explain a condition verbally. This improves case acceptance and reduces the time spent on post-procedure explanations.
Debunking a Common Myth: More Features vs. Better Integration
A pervasive myth in dental equipment purchasing is that the chair with the longest list of technological features is automatically the most efficient. In reality, poorly integrated features can hinder workflow more than they help. I’ve consulted for clinics that purchased chairs with built-in everything, but the confusing controls and awkward placement meant the features went unused. The key is not the number of features, but the quality of their integration.
True efficiency comes from a cohesive system where each component is designed to work together. A simple, reliable chair with a well-placed monitor mount, intuitive foot controls, and logical handpiece placement will always outperform a “smarter” chair that requires a steep learning curve and creates operational friction.
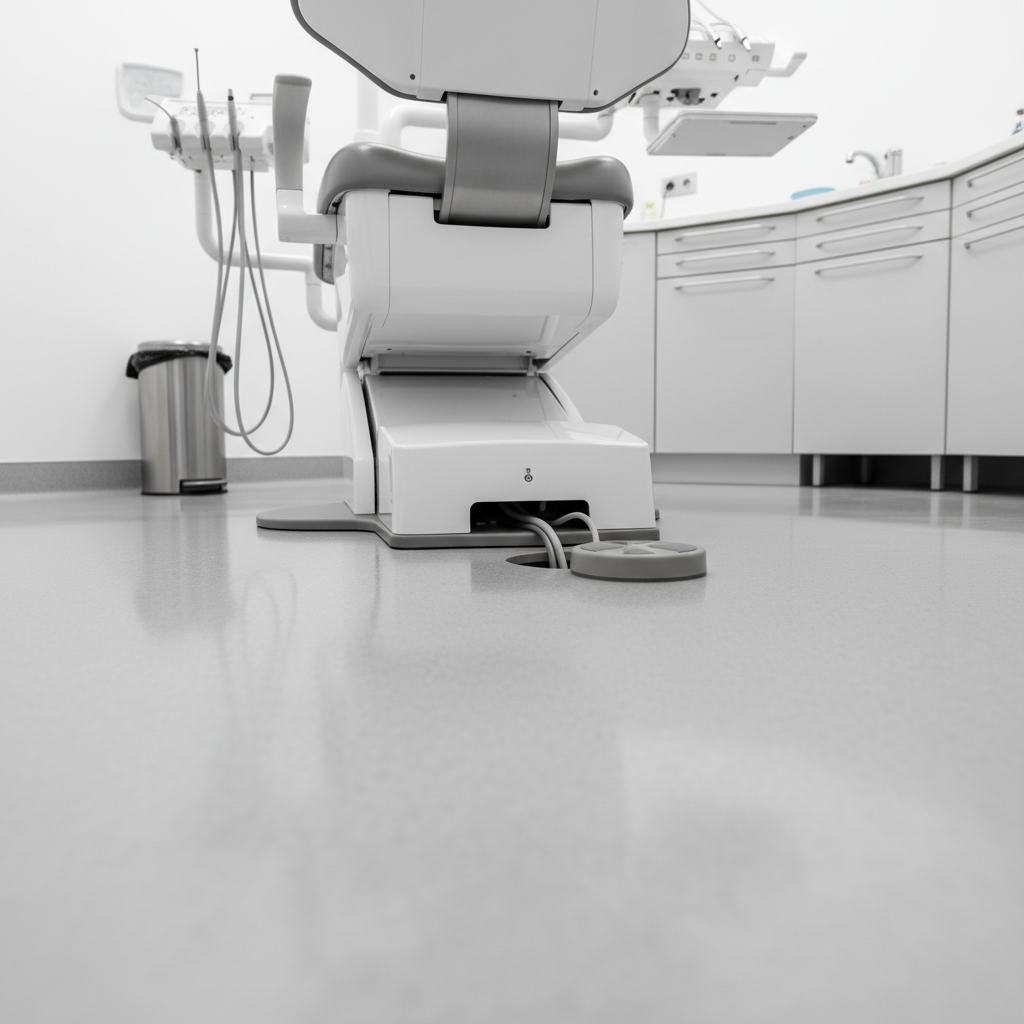
Cable Management: The Unsung Hero of Efficiency
A tangle of wires from monitors, cameras, curing lights, and other peripherals is not just unsightly—it’s a genuine impediment to efficiency. Loose cables can be a trip hazard, get caught on stools, and make cleaning between patients a time-consuming chore. I’ve observed teams lose 5–10% of their turnover time just managing cables.
An integrated chair addresses this by routing cables internally through the chair body and delivery system. This creates a clean, organized operatory that is safer, faster to disinfect, and more professional in appearance. When considering a new chair, always inspect the cable management pathways. It’s a detail that pays dividends in efficiency every single day.
3. From Theory to Practice: Quantifying and Implementing Efficiency Gains
The benefits of an integrated workflow are not just theoretical; they are measurable. Based on my experience in various clinical settings, practices that fully adopt an integrated chair philosophy can reduce chair-side turnover time by 10–30%. This is achieved by systematically eliminating small, incremental delays that accumulate over the course of a day.
Achieving these gains requires a structured implementation plan. Simply installing the equipment is not enough; the team must be trained to use it effectively. Below is a practical framework for implementation and a look at the maintenance that protects your investment.
Phased Training for Maximum Adoption
Throwing a new piece of highly integrated equipment at a team and expecting them to master it overnight is a recipe for resistance and errors. A phased approach is essential. I recommend a two-week training period focused on short, consistent practice:
- Daily Drills (10–15 minutes): Before the first patient, have the clinical team run simulation drills. Practice adjusting the chair with presets, using the foot controls, and accessing digital tools on the integrated monitor.
- Workflow Mapping: Map out the steps for your 3-4 most common procedures. Identify where the new integrated features can eliminate a manual step. For example, programming a preset for the start of a restorative procedure.
- Measure and Adjust: After the initial two weeks, start measuring procedure times. Gather feedback from the team and make adjustments to the presets or workflow as needed. The goal is to make the new process second nature.
Maintenance: The Key to Consistent Uptime
An efficient chair is a reliable chair. Unexpected equipment downtime can derail a clinic’s schedule and destroy profitability for the day. The reliability of modern equipment is underpinned by rigorous quality management standards, such as ISO 13485:2016, which governs medical device manufacturing. Furthermore, compliance with regulations like the FDA’s Quality System Regulation and the EU’s Medical Device Regulation (MDR) ensures that chairs sold in these markets are built to high standards of safety and performance.
However, even the best-built equipment requires routine maintenance. A simple preventative schedule can reduce unexpected downtime by approximately 70%. Here is a sample checklist based on best practices:
| Frequency | Task | Purpose |
|---|---|---|
| Monthly | Check suction lines and filters. | Ensures consistent and powerful suction, preventing delays. |
| Monthly | Inspect handpiece hoses for leaks or wear. | Prevents loss of air/water pressure and potential failures. |
| Quarterly | Calibrate chair position motors. | Ensures presets remain accurate and movement is smooth. |
| Annually | Professional Preventative Maintenance Inspection. | A technician inspects all mechanical and electronic systems for hidden wear and tear. |
Following a simple schedule like this is a small investment that protects your primary operational asset and maintains the efficiency you worked to achieve. For more on this, consider reading about how chair durability impacts your clinic’s financial health.
Key Takeaways
To effectively reduce procedure times, dental practices should view the dental chair not as a standalone object, but as the central nervous system of the operatory. True efficiency is unlocked through thoughtful integration that streamlines workflow and enhances ergonomics.
- Start with the Core: Utilize programmable presets and integrated foot controls to minimize manual movements and maintain focus.
- Embrace Digital Integration: Use chair-mounted monitors and intraoral cameras to improve diagnostics and patient communication, but prioritize ergonomic placement.
- Focus on Workflow, Not Just Features: The most effective integrations are those that seamlessly fit into your existing processes and reduce friction. Don’t overlook fundamentals like clean cable management.
- Implement and Maintain: Realizing the full potential of an integrated chair requires a structured training plan for your team and a consistent preventative maintenance schedule to ensure reliability.
By shifting the focus from individual feature speeds to holistic workflow efficiency, clinics can leverage an integrated dental chair to save valuable time, improve profitability, and create a safer, more organized working environment.
Disclaimer: This article is for informational purposes only and does not constitute professional medical or financial advice. The ergonomic recommendations are general guidelines and may need to be adapted for individuals, especially those with pre-existing conditions. Always consult with a qualified ergonomics professional and follow manufacturer instructions for equipment operation and maintenance.
References
About the Author


