Ergonomics for Dentists Treating Special Needs Patients

The Physical Toll of Compassionate Care
Treating patients with mobility challenges or special needs is a rewarding part of dentistry, but it can be intensely physically demanding. Without the right equipment, practitioners often find themselves in contorted positions, leading to chronic back, neck, and shoulder pain. I have seen many colleagues suffer from career-shortening injuries simply because their operatory wasn’t designed to accommodate a diverse range of patient needs. The core issue is that standard dental chairs often force the practitioner to adapt to the equipment, when it should be the other way around.
This is where accessible dental chair design becomes crucial. It’s not just about patient comfort; it’s about creating a sustainable and safe working environment for the dental team. By investing in chairs with specific ergonomic and accessibility features, you can significantly reduce physical strain, improve your posture, and focus on delivering the highest quality of care. This approach aligns with the principles of practitioner ergonomics, ensuring a long and healthy career.
Core Ergonomic Adjustments for Practitioner Health
Achieving a neutral, stress-free posture is the foundation of ergonomic dental practice. This is only possible when your dental chair offers a sufficient range of motion. Forcing your body to compensate for equipment limitations is a direct path to musculoskeletal disorders. Let’s break down the critical adjustments.

Height, Recline, and Headrest: The Triad of Good Posture
I used to end my days with severe neck strain, and for the longest time, I blamed my loupes. The real culprit was a chair that couldn’t get the patient’s head to the right height relative to my elbows. The ideal setup allows you to work with your arms relaxed and your spine neutral.
Here are the specific adjustment ranges to look for, based on extensive ergonomic studies:
- Chair Height: A usable height range of approximately 40–60 cm is essential. This allows you to position the patient’s oral cavity at or slightly above your elbow height, whether you are sitting or standing. This single adjustment prevents you from hunching over or raising your shoulders, two of the most common causes of chronic pain.
- Backrest Recline: The ability to achieve at least a 120° recline is non-negotiable for proper supine positioning. This is critical for gaining clear access to both the upper and lower arches without having to bend or twist your torso. A smooth, motorized recline function ensures you can make micro-adjustments easily during a procedure.
- Headrest Articulation: A versatile headrest is a game-changer. Look for one offering 10–15 cm of vertical travel and about 30° of angular adjustment. This enables you to cradle the patient’s head securely and precisely, bringing the treatment area into your ideal field of vision. For more complex cases, a well-designed headrest can make the difference between a comfortable procedure and a strenuous one. You can learn more about this in this detailed patient positioning guide.
The Myth of “One Size Fits All”
A common misconception is that a single high-end dental chair can serve all purposes and patient types equally well. In reality, this is rarely true. While quality construction is vital, chairs designed for a standard adult patient population often lack the specific features needed for those with special needs. According to guidelines from regulatory bodies like the FDA, medical equipment must be validated for its intended use, as detailed in the Quality System Regulation for medical devices. Forcing a standard chair to work for a bariatric patient or someone who cannot easily self-transfer can lead to unsafe conditions and poor ergonomic compromises for the clinician.
Accessibility in Action: Features for Special Needs Patients
True accessibility goes beyond basic adjustments. It involves features that make the entire experience safer and more comfortable for patients with mobility limitations, which in turn protects the dental team from injury. When evaluating chairs, it’s crucial to consider the needs of the elderly, bariatric patients, and those who use mobility aids. These considerations are central to designing a clinic that can accommodate patients with anxiety and special needs.
Low Entry Points and Swivel Functions
One of the most significant challenges is the patient transfer. A mistake I often see is practitioners and assistants physically lifting or awkwardly guiding a patient into a chair that is too high. This is a high-risk activity for back injuries.
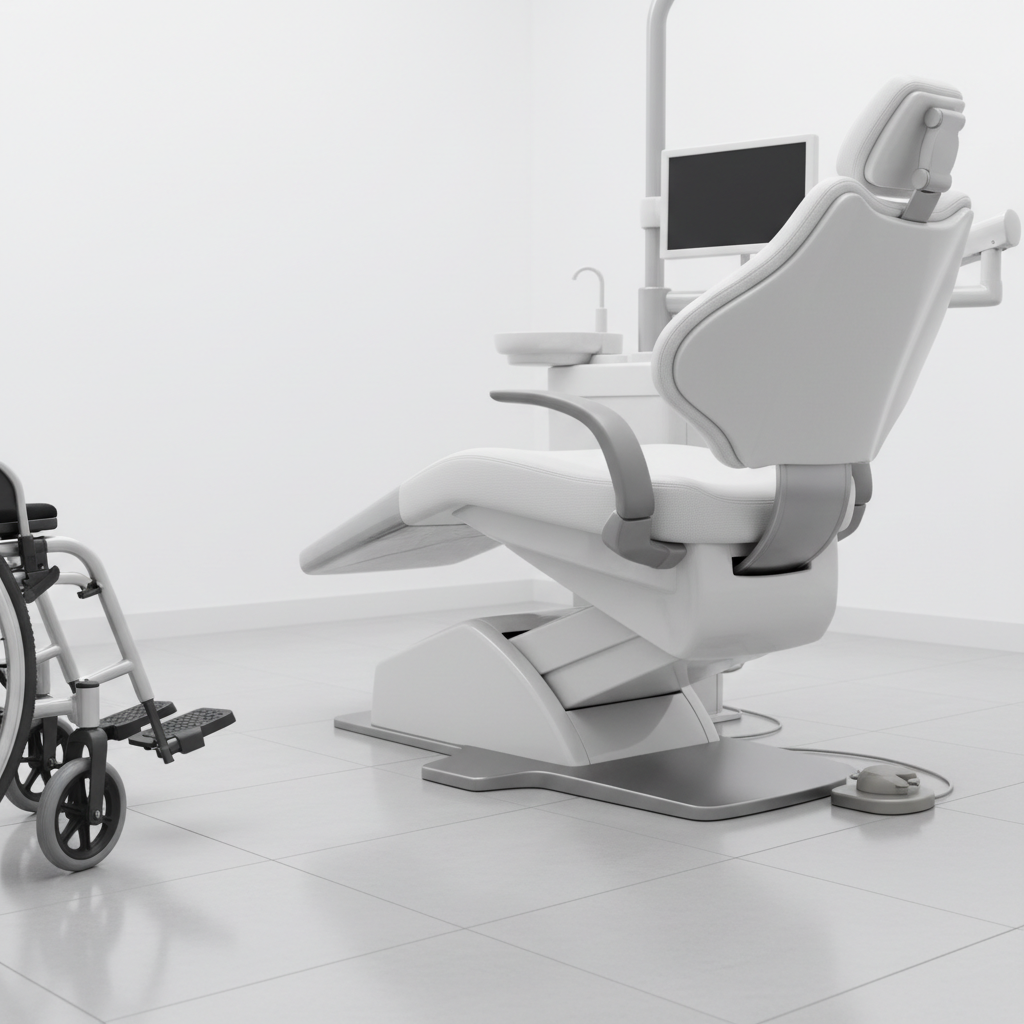
A chair with a low entry point (around 40-45 cm) dramatically simplifies this process, allowing many patients to transfer themselves with minimal assistance. Furthermore, features like removable or swing-away armrests create unobstructed access for those transferring from a wheelchair. Some advanced chairs also offer a swivel or rotational base, which can be invaluable in tight operatories, allowing you to position the chair for the easiest possible patient entry and exit before rotating it into the treatment position.
Weight Capacity and Bariatric Support
Standard dental chairs may not be rated to safely support bariatric patients. It is essential to verify the chair’s weight capacity and ensure it includes a 20% safety margin. For example, if you anticipate treating patients up to 180 kg (approx. 400 lbs), you should select a chair rated for at least 216 kg (approx. 475 lbs). This is a critical safety and compliance issue, as equipment must meet established quality standards like those outlined in ISO 13485:2016, which governs quality management for medical devices.
Beyond just the weight rating, look for wider seats and reinforced construction. Planning for these appointments is also key; I recommend adding 10–15 minutes to the appointment time specifically for a safe and unhurried two-person transfer if needed.
Optimizing the Operatory for Ergonomic Workflow
A well-designed chair is the centerpiece, but its effectiveness is magnified or diminished by the surrounding environment. An ergonomic workflow considers how you interact with your instruments, your assistant, and the patient.
The 45 cm Rule: Minimizing Repetitive Reaching
Repetitive reaching is a subtle but significant source of strain. To combat this, keep your primary instruments within a “reach zone” of 30–45 cm from your typical operating position. This minimizes stretching and twisting. High-use tools, such as the high-volume evacuator and air/water syringe, should be placed on the assistant’s side to streamline a four-handed dentistry approach. This not only improves your ergonomic health but also boosts clinic efficiency, a key benefit of ergonomic dental chairs.
Maintenance: The Unsung Hero of Ergonomics
An ergonomic chair is only as good as its functional components. A sticking hydraulic lift or a drifting backrest can subtly force you into awkward postures throughout the day. A proactive maintenance schedule is essential for both safety and performance.
Here is a simple checklist I use in my own practice:
| Component | Frequency | Action |
|---|---|---|
| Motorized Adjustments | Monthly | Test height, recline, and tilt functions under a typical patient load. |
| Hydraulic Seals & Hoses | Quarterly | Visually inspect for any signs of leaks or wear. |
| Upholstery & Cushions | Quarterly | Check for tears or compressed areas that could be uncomfortable. |
| Fasteners & Armrests | Annually | Tighten all bolts and ensure armrests lock securely. |
Stocking spare cushions and common fasteners is a small investment that can prevent significant downtime. This proactive approach ensures your equipment remains compliant and reliable, reflecting the quality management principles required for CE marking in European markets.
Key Takeaways for an Ergonomic Practice
Building an ergonomic practice for special needs patients is a continuous process, but its rewards—for both your health and your patients’ quality of care—are immense. It requires a conscious shift from forcing yourself to adapt to demanding equipment to investing in equipment that adapts to you and your patients. Balancing patient comfort and practitioner ergonomics is not a compromise; it’s a synergy.
Your Ergonomic Checklist:
- Verify Chair Specs: Ensure your chair has a height range of 40-60 cm, at least 120° of recline, and a highly adjustable headrest.
- Prioritize Accessibility: Look for low entry points, swing-away armrests, and a certified bariatric weight capacity with a 20% safety margin.
- Optimize Your Reach: Keep essential instruments within a 30-45 cm radius to avoid stretching.
- Adjust, Don’t Contort: Always reposition the chair or the patient before compromising your own posture.
- Schedule Maintenance: Implement a monthly and quarterly inspection routine for all chair functions.
- Plan for Transfers: Add extra time to appointments for patients who need assistance, and always use proper transfer techniques.
By focusing on these principles, you can protect yourself from career-threatening injuries and provide more compassionate, effective care for all your patients.
Frequently Asked Questions (FAQ)
Q: How often should I take breaks during long procedures?
A: It’s a good practice to change your posture or take a micro-break every 20-30 minutes during long procedures. Even just standing up, stretching your back, and looking away from the patient can help reduce static muscle fatigue.
Q: Are anti-fatigue mats really effective?
A: Yes, for me, they have made a significant difference. An anti-fatigue mat provides cushioning that reduces stress on your feet, legs, and back during procedures that require standing. It easily doubles the amount of time I can stand comfortably.
Q: Can I modify my existing chair to be more ergonomic?
A: While some accessories like ergonomic stools or external headrest cushions can help, they often can’t fix fundamental limitations. If your chair lacks the necessary height or recline range, it may be more cost-effective in the long run to invest in a new chair that meets proper ergonomic standards, especially when considering ergonomics on a clinic budget.
Disclaimer: This article is for informational purposes only and does not constitute professional medical advice. Dental practitioners should consult with ergonomic specialists and conduct thorough equipment assessments to ensure a safe environment for themselves and their patients. Always adhere to manufacturer guidelines and regulatory standards.
References
- ISO 13485:2016 – Quality Management Systems: https://www.iso.org/standard/59752.html
- FDA 21 CFR Part 820 – Medical Device Regulations: https://www.fda.gov/regulatory-information/search-fda-guidance-documents/quality-system-regulation-medical-devices
- CE Marking – European Conformity: https://ec.europa.eu/growth/single-market/ce-marking_en
About the Author


