Balancing Patient Comfort & Practitioner Ergonomics

The Foundation of Ergonomics: Why Neutral Posture Matters
The dental chair is the centerpiece of the operatory, but it is more than just a place for the patient to sit. For the dental practitioner, it dictates posture, access, and workflow for hours every day. Over time, a poorly configured setup can contribute to chronic pain and career-threatening musculoskeletal disorders (MSDs), which research from institutions like the National Institute of Dental and Craniofacial Research (NIDCR) has identified as a significant occupational hazard in dentistry.
The High Cost of Poor Posture
I have seen many talented clinicians forced to reduce their hours or even retire early due to chronic neck and back pain. The cause is often years of sustained, awkward postures: hunching over a patient, craning the neck for a better view, or reaching too far for an instrument. These non-neutral positions place cumulative stress on the spine, shoulders, and wrists. The discomfort that starts as end-of-day stiffness can evolve into debilitating pain, impacting not just work but overall quality of life.
Defining Neutral Posture for Practitioners
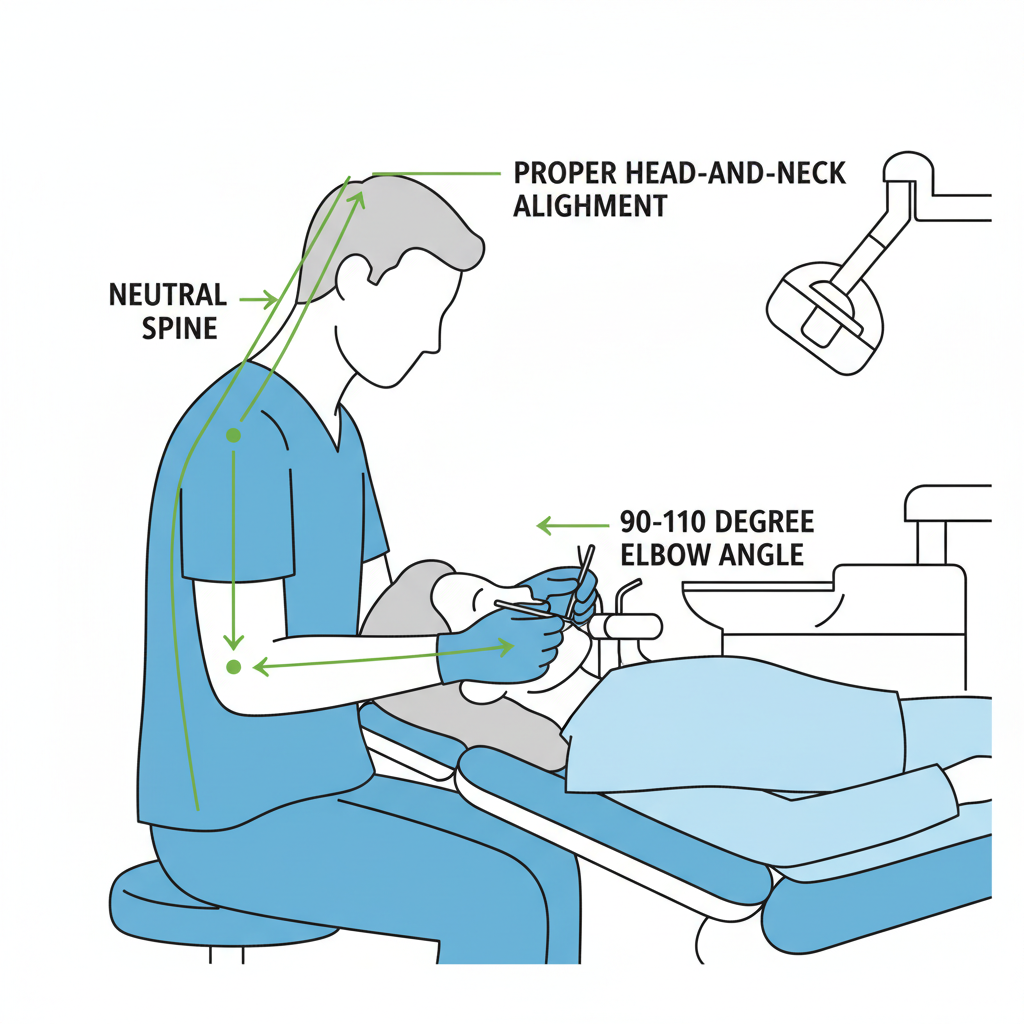
Achieving a neutral posture is the primary goal of ergonomic design. This isn’t a rigid, unnatural position but a state of balance that minimizes stress on the body. For a seated practitioner, this includes:
- Feet Flat: Your feet should be flat on the floor, providing a stable base.
- Thighs Parallel: Your thighs should be roughly parallel to the floor.
- Supported Back: Your lower back should be supported by the stool’s lumbar cushion, maintaining its natural curve.
- Relaxed Shoulders: Your shoulders should be down and relaxed, not raised or hunched.
- Neutral Forearms: Your forearms should be at a neutral or slightly upward angle, approximately 90–110°, to reduce shoulder strain.
Maintaining this posture is nearly impossible if the patient is not positioned correctly. The patient’s position is the foundation of the clinician’s posture.
Key Chair Adjustments for Optimal Clinical Workflow
Mastering the dental chair’s adjustments is a critical skill. It allows you to create an environment that serves both the patient’s comfort and your ergonomic needs. The key is to make the chair adapt to your ideal posture, not the other way around.
Debunking a Common Myth: Patient Height vs. Practitioner Posture
A frequent mistake I see in clinics is setting the patient seat height too low. This is often done with the well-intentioned goal of making the patient feel secure, but it forces the practitioner to raise their shoulders and lean forward, creating immediate strain.
The proper technique is to start with your own posture. Once you are seated in a neutral position, adjust the patient so their mouth is at the correct height relative to you. A reliable heuristic is to position the patient’s mouth approximately 420–520 mm from the floor. This brings their oral cavity into your optimal working field of view without forcing you to compromise your posture.
The Headrest: A Pivot Point for Comfort and Access
Improper headrest alignment is another common pitfall, causing repeated neck extension as the clinician strains to see the treatment area. The headrest should be adjusted to center on the patient’s occiput (the back of the skull). This simple adjustment cradles the head, keeps the patient’s airway open, and presents the oral cavity at an accessible angle, preventing you from having to constantly crane your neck.
Backrest Articulation and Procedural Needs
Modern dental chairs offer a wide range of backrest recline, typically from 120° to 170°. This isn’t a one-size-fits-all setting. The angle should be adapted to the procedure:
- Exams and Consultations: A less dramatic recline (around 120-130°) is often sufficient and more comfortable for the patient during conversation.
- Restorative or Surgical Work: A deeper recline (up to 170°) may be necessary to gain optimal access and visibility, especially for the upper arch.
Adjusting the recline dynamically not only improves your access but also enhances patient comfort by matching the chair position to the clinical need.
Designing the Operatory for Efficiency and Durability
A truly ergonomic setup extends beyond the chair itself to encompass the entire operatory. The layout of your tools and the materials you choose play a crucial role in reducing physical strain and operational downtime.
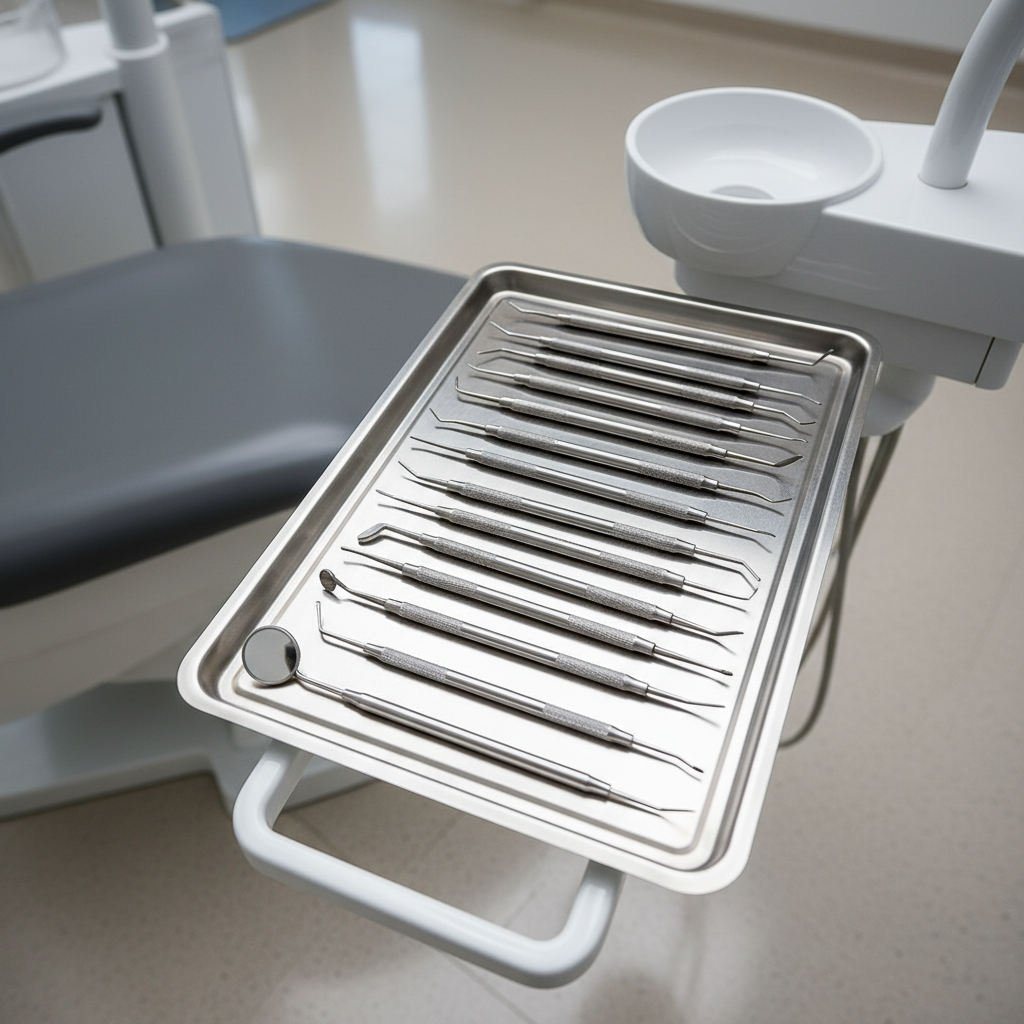
The “Strike Zone”: Instrument Placement
Repetitive reaching is a major source of shoulder and upper back strain. To combat this, your primary instrument tray should always be located within your “strike zone.” A proven guideline is to keep the most frequently used instruments within 25–35 cm of your dominant hand. This allows you to retrieve and return tools with minimal torso twisting or extended reaching, saving hundreds of small, stressful movements per day.
Material Selection in High-Turnover Clinics
For busy clinics, durability and ease of maintenance are paramount. When evaluating a dental chair, look for upholstery that can withstand frequent disinfection with harsh chemicals without cracking or fading. Features like sealed seams are critical to prevent fluid ingress and ensure proper hygiene. Furthermore, chairs with modular cushions can be a lifesaver. A tear or stain doesn’t have to mean major downtime; a cushion can be swapped out in minutes, keeping the operatory functional.
The Importance of Regulatory Compliance
Beyond function, safety and quality are non-negotiable. Certifications like CE Marking for the European market and adherence to quality management systems like ISO 13485:2016 are critical indicators of a manufacturer’s commitment to safety and performance. These standards ensure that the chair has undergone rigorous testing for electrical safety, material biocompatibility, and mechanical stability, providing trust and reliability for your practice.
A Practical Checklist for Ergonomic Excellence
To translate these principles into practice, consistency is key. I’ve found that brief team drills on chair adjustment—even just 5-10 minutes—can reduce patient setup time by 30–50%. Use this checklist to build good habits and ensure every procedure starts from a foundation of solid ergonomics.
| Area of Focus | Ergonomic Goal | Key Check |
|---|---|---|
| Practitioner Stool | Establish a stable, neutral base posture. | Feet flat on the floor, back supported, shoulders relaxed. |
| Patient Chair Height | Bring the patient’s oral cavity to the practitioner’s ideal working height. | Patient’s mouth is ~420–520 mm from the floor. |
| Stool-to-Patient | Maintain neutral forearm and shoulder posture. | Operator stool height is typically 5–10 cm higher than the patient’s mouth. |
| Patient Headrest | Ensure clear visibility and access without neck strain. | Headrest is centered on the patient’s occiput. |
| Backrest Angle | Adapt patient position to the specific procedural need. | 120-130° for exams, up to 170° for restorative work. |
| Instrument Tray | Minimize reaching and twisting. | Primary instruments are within 25–35 cm of the dominant hand. |
Wrapping Up: Key Takeaways for a Healthier Practice
Balancing patient comfort and practitioner ergonomics is not a compromise; it is a synergy. A well-designed and properly adjusted dental chair serves both, leading to better clinical outcomes and a longer, healthier career. By focusing on a neutral posture, mastering key chair adjustments, and organizing your operatory for efficiency, you can create a work environment that is safe, productive, and sustainable.
An ergonomic dental chair is not a luxury. It is an essential investment in the most valuable asset in your practice: your health and well-being.
Frequently Asked Questions (FAQ)
How often should I check my chair’s settings?
You should perform a quick ergonomic check before seeing every patient. Patient anatomy varies, so a “mock-fit” to adjust height and headrest is essential for maintaining your own posture throughout the day.
What’s the most common ergonomic mistake dentists make?
The most common mistake is positioning the patient first and then adjusting your own body to fit. This almost always leads to a compromised, strained posture. The correct method is to establish your own neutral posture first, then bring the patient to your ideal working position.
Can an anti-fatigue mat help even if I’m seated?
While primarily designed for standing, an anti-fatigue mat can still provide value for seated practitioners. It encourages micro-movements of the feet and legs, which can improve circulation. It also reduces the impact on your joints when you get up or sit down, and it provides a more comfortable surface for your feet to rest on than a hard floor.
Disclaimer: This article is for informational purposes only and does not constitute professional medical advice. Practitioners should consult with an ergonomics specialist or a qualified healthcare provider to address specific postural or health concerns, especially if they have pre-existing conditions.
References
About the Author


