Operatory Layout Considerations for Infection Control

Your clinic’s physical layout is the silent partner in your infection control protocol. While most dental professionals focus heavily on PPE and autoclave cycles, the geometric reality of the operatory—the flow of traffic, the reach of the clinician, and the separation of clean and dirty zones—often dictates the success or failure of cross-contamination prevention.
Infection control is not merely a set of rules; it is a spatial challenge. A poorly designed operatory forces staff to cross sterile fields, reach over contaminated surfaces, or take shortcuts that compromise safety. Conversely, a strategic layout, grounded in standards like ISO 13485 and FDA 21 CFR, creates a “path of least resistance” where the safest action is also the easiest.
This guide details the technical specifications and workflow strategies required to design a dental operatory that inherently resists contamination. We will move beyond general advice to specific clearances, zoning heuristics, and equipment integration strategies that durable, high-throughput clinics rely on.
The Foundation: Zoning and the One-Way Workflow
The most effective method to prevent cross-contamination is to establish a strict “One-Way Flow” for instruments and personnel. This concept, borrowed from sterile manufacturing and surgical suite design, ensures that contaminated items never backtrack through clean zones.
Defining the Zones
Every operatory must be conceptually (and often physically) divided into three distinct areas:
- The Treatment Zone (Dirty/Active): The immediate radius around the patient oral cavity, including the chair, the delivery unit, and the assistant’s instrumentation.
- The Decontamination Zone (Dirty -> Clean transition): The path where used instruments travel to the sterilization center.
- The Clean/Sterile Zone: Storage areas for sterile packs and the path for retrieving them.
A common failure in clinic design is the intersection of these paths. If a clinician must walk past the “dirty” instrument drop-off to wash their hands, the risk of fomite transmission increases significantly.
The Linear vs. U-Shaped Workflow
Depending on your room dimensions, you should adopt one of two primary layouts to maintain this separation.
| Feature | Linear Flow (Pass-Through) | U-Shaped Flow (Single Entry) |
|---|---|---|
| Best For | Large clinics with dual-entry operatories (rear entry for staff, front for patients). | Standard single-door operatories (common in retrofits). |
| Traffic Pattern | Entry $\rightarrow$ Treatment $\rightarrow$ Exit (Dirty side). | Entry $\rightarrow$ Treatment $\rightarrow$ Turn $\rightarrow$ Exit. |
| Contamination Risk | Lowest. Dirty instruments leave via a different door than the patient enters. | Moderate. Requires strict separation of “in” and “out” lanes within the room. |
| Space Requirement | High (requires corridors on both sides). | Moderate (efficient for 3m x 3.5m rooms). |
According to ISO 13485:2016 – Quality Management Systems, infrastructure must be maintained to prevent product mix-up and contamination. Implementing a unidirectional flow is a direct application of this standard, ensuring that “non-conforming” (contaminated) product does not mix with “conforming” (sterile) product.
Optimizing the Dental Chair Footprint
The dental chair is the anchor of the operatory. Its placement dictates the working envelope for the dentist and assistant. A common misconception is that compacting the layout saves space for more rooms. In reality, insufficient clearance creates “pinch points” where accidental contact with non-sterile surfaces becomes inevitable.
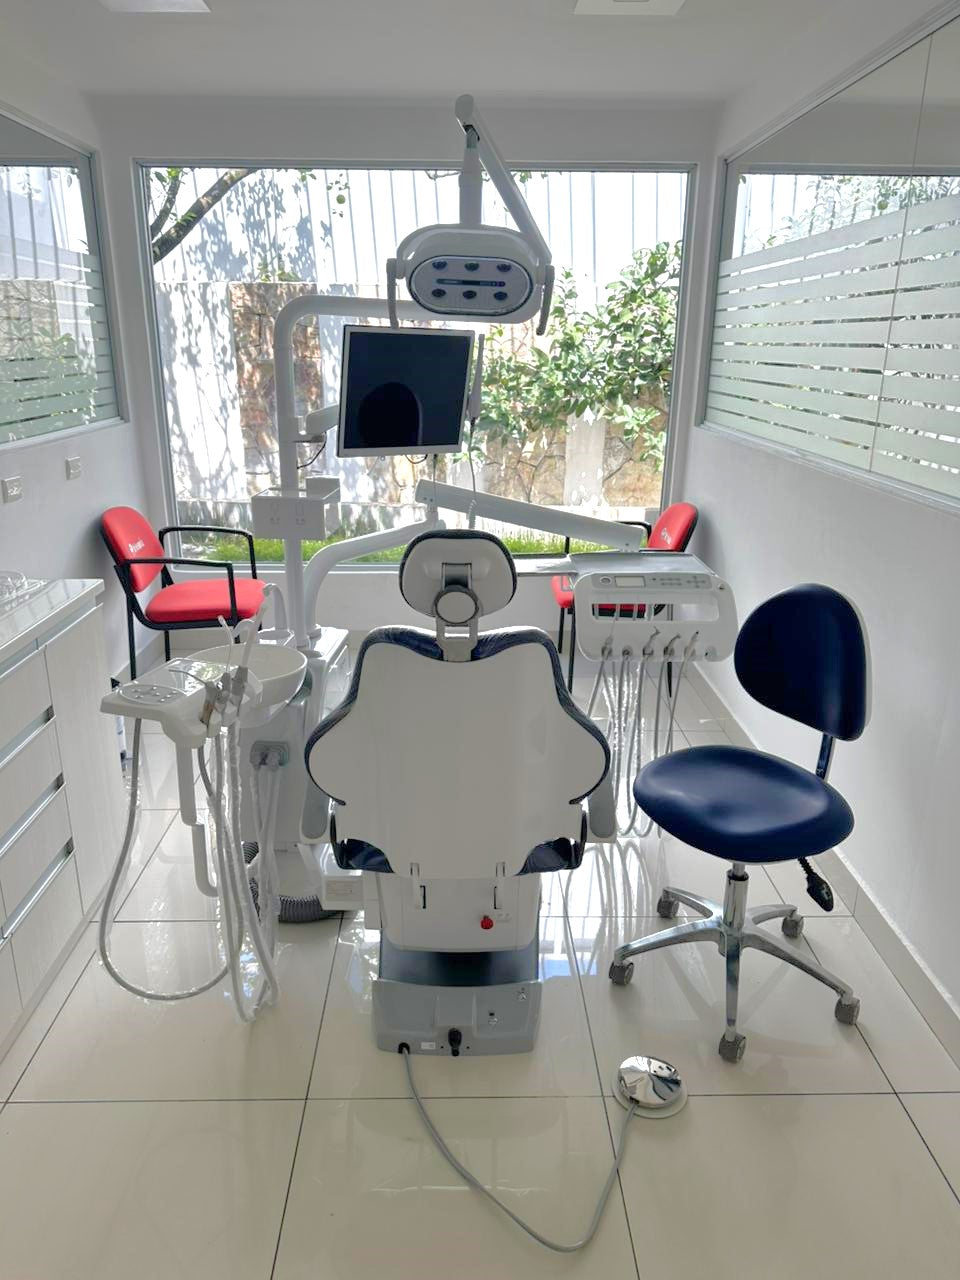
The 1.2-Meter Rule
For safe four-handed dentistry, industry observations indicate that a minimum clear working envelope of 1.2 to 1.5 meters is required around the headrest and sides of the chair.
- Doctor’s Side: Needs space for the operator stool to rotate without hitting cabinetry.
- Assistant’s Side: Critical for accessing the high-volume evacuator (HVE) and curing lights without leaning over the patient’s chest (a sterility breach).
Integration with Utilities
The chair’s utility box (air, water, power) is often a trap for dust and debris. In a hygiene-focused layout, utility connections should be concealed or boxed out with coved flooring to allow for easy mopping. Exposed cables are difficult to disinfect and can harbor pathogens.
Pro Tip: When planning your layout, provide at least 900 mm of vertical service access behind the equipment. Most downtime in our analysis of high-throughput clinics stems from technicians being unable to access service panels quickly, leading to deferred maintenance and potential leakages that compromise hygiene.
The Sterilization Loop: A 3-Point Triangle
Just as a kitchen has a “work triangle,” an infection-control focused operatory relies on a 3-point triangle linking the Chair, the Sterilization Area, and Clean Storage.
Designing the Decontamination Bench
The area where instruments are processed is the highest-risk zone in the clinic. It must be designed to handle splash, steam, and heat without degrading.
- Countertop Depth: Specify a continuous countertop depth of 600–900 mm. This accommodates larger equipment like ultrasonic cleaners and thermal disinfectors without forcing them to overhang the edge, which creates drip hazards.
- Material Selection: Surfaces must be non-porous and seamless. Corian or solid surface materials with coved backsplashes are superior to laminate, which can delaminate and trap moisture—a violation of general FDA 21 CFR Part 820 principles regarding facility maintenance and contamination control.
- Flow Direction: Mark the workflow on the bench itself using color-coded tape or distinct surface zones: Receiving (Red) $\rightarrow$ Cleaning/Packing (Yellow) $\rightarrow$ Sterilization (Green).
Equipment Placement
Never place the sterilizer (autoclave) on a main circulation path. The venting of steam and the loading/unloading process require a dedicated, low-traffic buffer zone. The EU MDR – Medical Device Regulation emphasizes the safety and performance of devices; placing a sterilizer where it can be bumped or jarred during a cycle compromises its function and safety.
Surface and Utility Considerations for Infection Control
The “skin” of your operatory—floors, walls, and cabinetry—must be as engineered as the equipment itself.
Sinks and Hand Hygiene
Hand washing is the single most critical step in infection control. However, sink placement is often an afterthought.
- Sightlines: Place sinks where patients can see staff washing their hands. This builds trust.
- Traffic: Do not place sinks where a staff member washing hands blocks a doorway or a sterile corridor.
- Splash Radius: Sinks should have deep basins and offset drains to minimize splashback, which can contaminate nearby sterile setups.
Flooring and Drainage
In sterilization rooms, specify floors that slope gently toward a central drain. Avoid recessed boxes or floor outlets in the “wet zone” of the sterilization center, as these become debris traps that are impossible to disinfect fully. Use coved skirting (where the floor curves up the wall) to eliminate 90-degree corners where dirt accumulates.
Expert Warning: The “Aesthetics Trap”
A common mistake we see in clinic design is prioritizing aesthetics over auditability. Hidden cabinets and “sleek” push-to-open drawers look good but are infection control nightmares.
- Touchpoints: Push-to-open drawers require you to touch the face of the cabinet with a potentially contaminated hand to open it.
- The Fix: Use hands-free foot pedals or long, C-shaped handles that can be operated with an elbow. Durability and hygiene must precede visual minimalism.
Operationalizing the Layout
Even the perfect layout fails without protocols. To ensure your design delivers on its promise of safety:
- Simulation Walks: Before finalizing the floor plan, tape the layout on the floor of an empty room. Have staff “act out” a procedure, including emergency scenarios. This often reveals pinch points (e.g., “I can’t reach the sharps bin without crossing the doctor’s path”).
- Audit Quarterly: Use the principles of ISO 13485 to conduct internal audits. Check for “desire paths”—shortcuts staff take that violate the one-way flow. If staff consistently bypass a protocol, the layout is likely fighting them.
Key Takeaways
- Zoning is Non-Negotiable: Clearly define and separate Dirty, Clean, and Sterile zones. Use floor markings if necessary to enforce one-way traffic.
- Respect the Envelope: Maintain a 1.2–1.5m clearance around the dental chair to allow for safe, four-handed dentistry without accidental contact.
- Build for Maintenance: Ensure 900mm access behind equipment to prevent downtime and hygiene failures caused by neglected utility boxes.
- Material Matters: Use coved flooring and non-porous countertops (600-900mm depth) in sterilization areas to support heavy equipment and frequent disinfection.
Frequently Asked Questions (FAQ)
Q: Can I retrofit an existing small room (3m x 3m) for proper infection control?
A: Yes, but it requires discipline. Use a U-shaped workflow where the “Dirty” entry and “Clean” exit share the doorway but are separated by a physical barrier or cart. Prioritize mobile carts over fixed cabinetry to maximize the limited floor space.
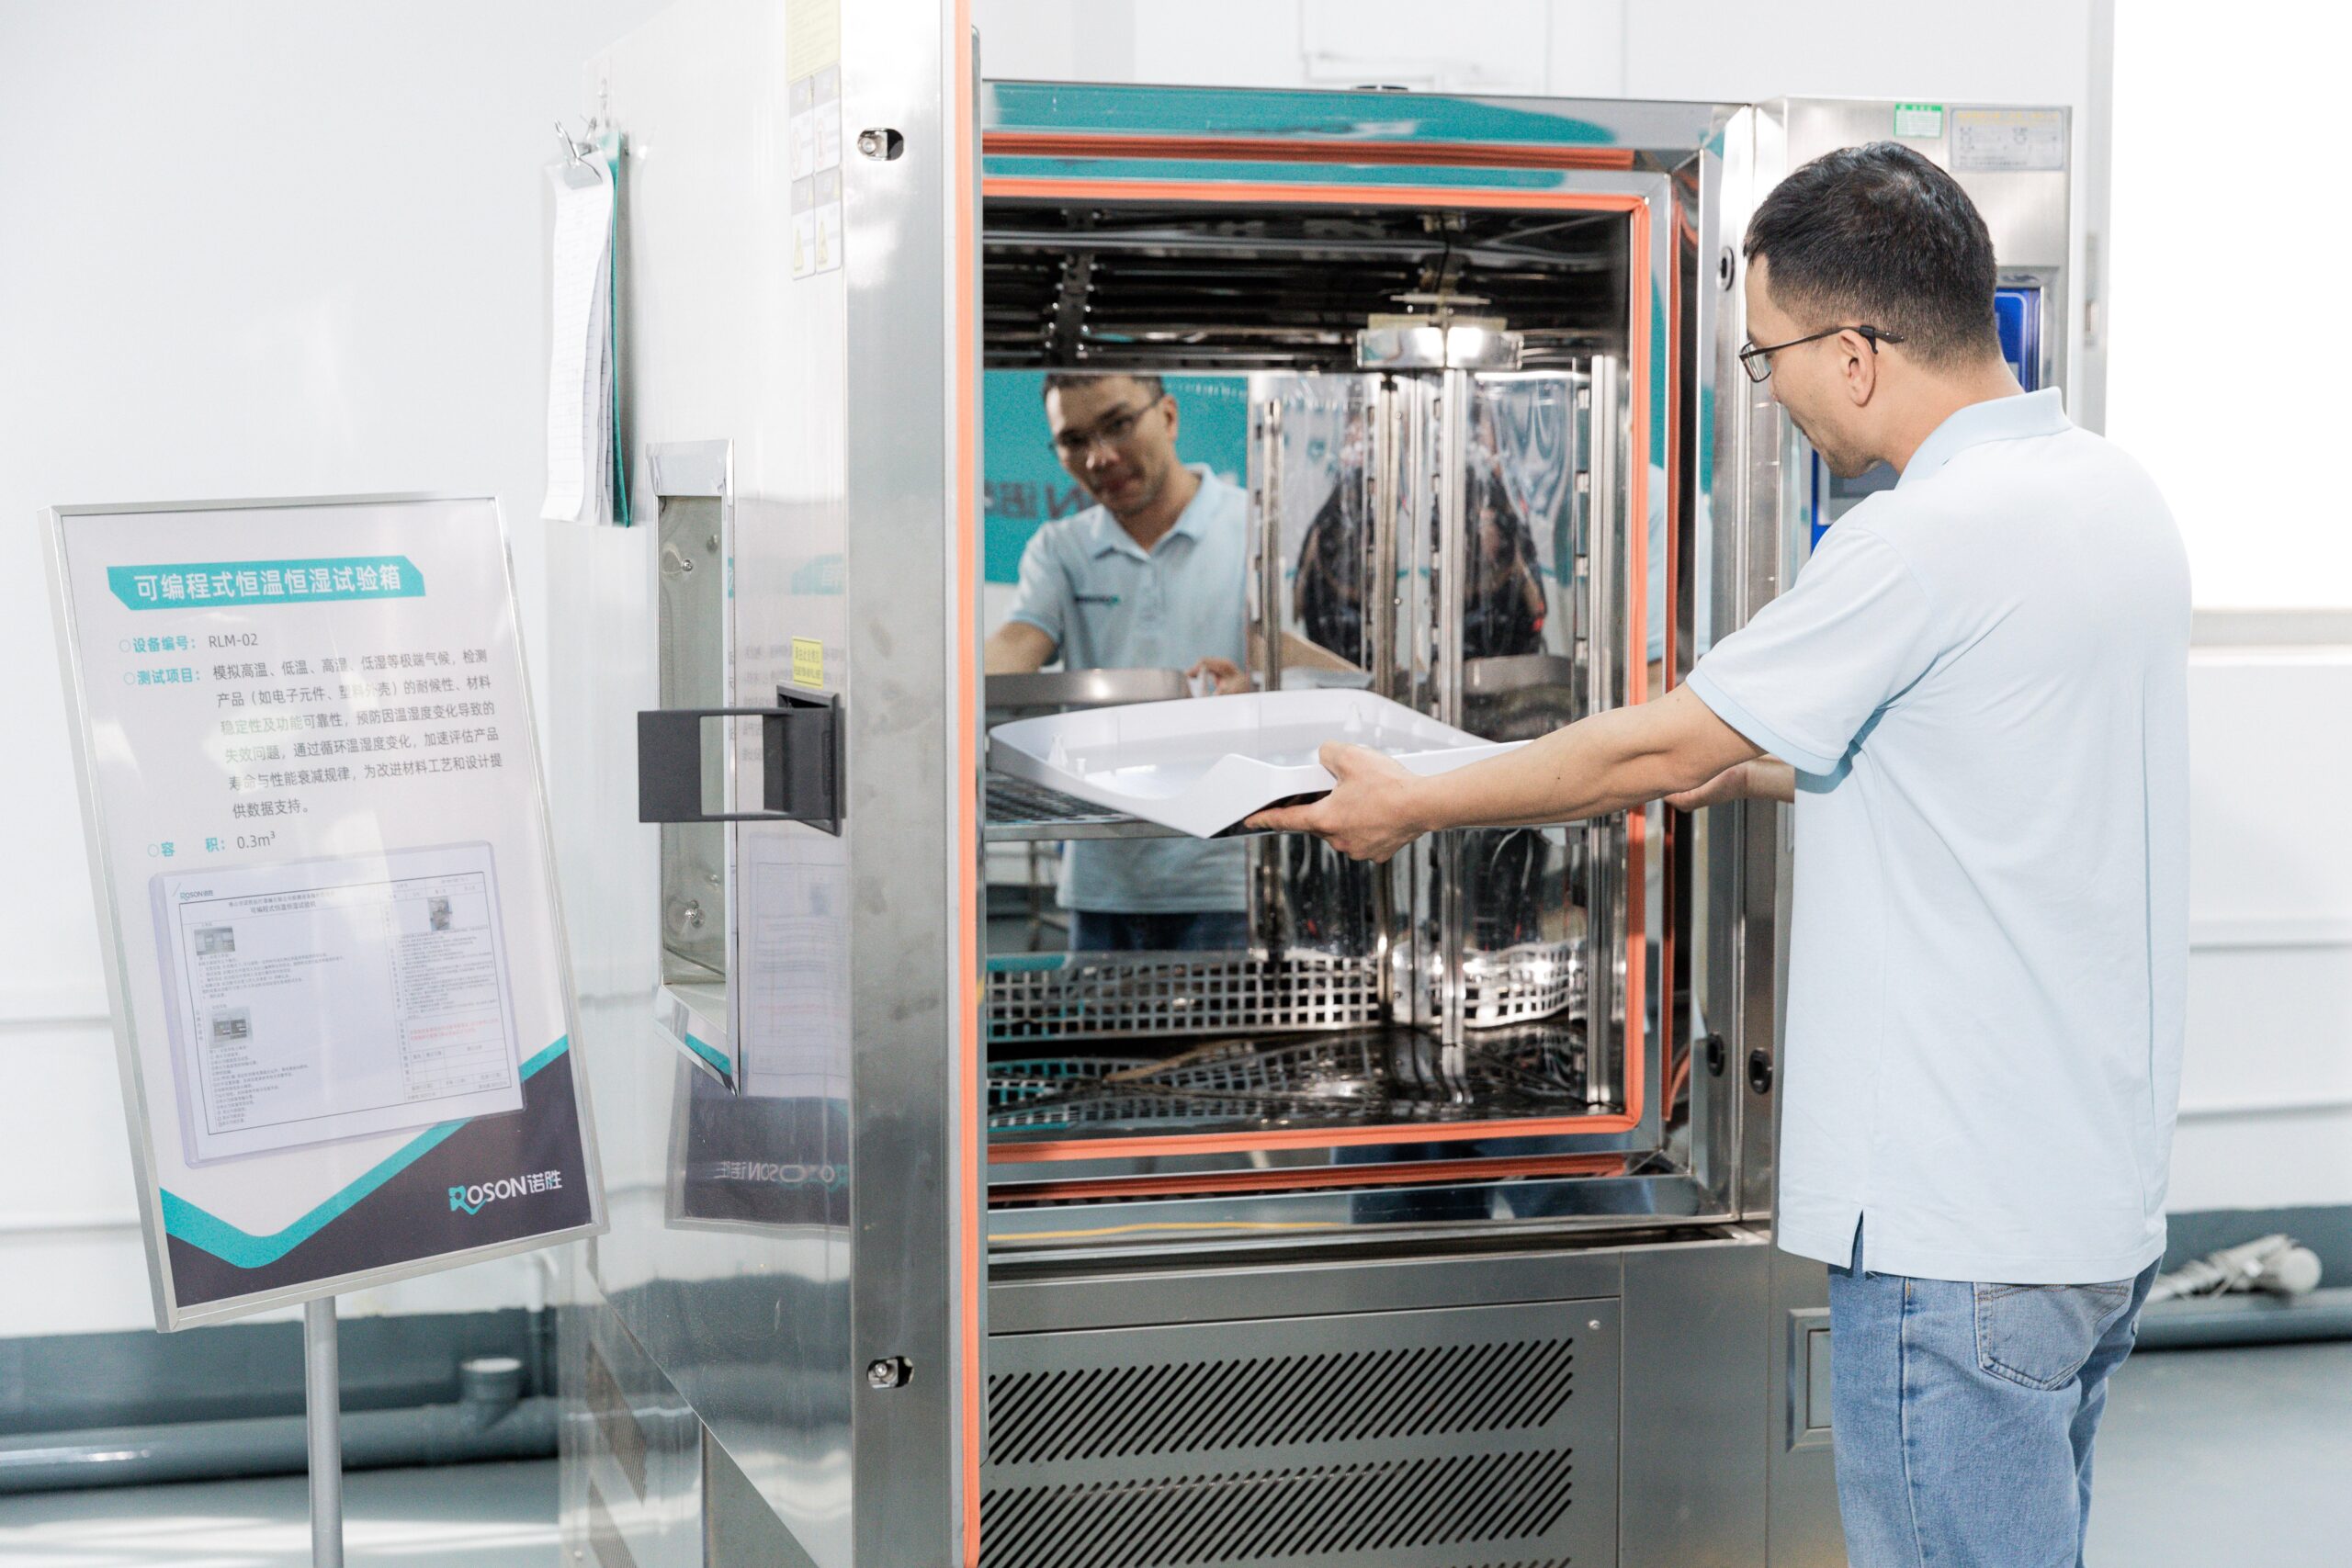
Q: How does equipment durability relate to infection control?
A: Equipment with cracked upholstery or yellowing plastics (common in low-quality gear) creates harbors for bacteria that disinfectants cannot reach. Durable materials that withstand harsh chemical wipes are a prerequisite for a sterile environment.
Q: Is it necessary to have a separate sterilization room?
A: Ideally, yes. If space does not permit a separate room, you must have a distinct sterilization alcove that is visually and spatially separated from the patient treatment area by a partition or distance, ensuring aerosolized pathogens do not settle on sterile packs.
Disclaimer: This article is for informational purposes only and does not constitute professional medical or legal advice. Regulations regarding dental clinic design and infection control vary by jurisdiction. Always consult with a qualified architect and local regulatory bodies (such as state dental boards or ministry of health) before finalizing clinic designs.
References
About the Author


