How Staff Training Impacts Dental Chair Durability

Your Team’s Daily Habits: The Unseen Factor in Equipment Lifespan
A dental chair represents one of the most significant capital investments in any dental clinic. While we often focus on the manufacturer’s specifications and material quality when considering longevity, my experience in the field has shown that the biggest factor in premature equipment failure isn’t a manufacturing defect—it’s how the chair is used and maintained day-to-day. The daily habits of your clinical team have a direct and substantial impact on the operational lifespan of this critical asset.
Many common issues, from upholstery tears to actuator malfunctions, can be traced back to preventable user behaviors. The good news is that these issues are correctable. By implementing a robust and consistent staff training program, you can instill best practices for operation and care, dramatically boosting durability, minimizing downtime, and ensuring you get the maximum return on your investment. This article explores the key training points that protect your dental chair from premature wear and tear.
The Operator’s Impact: How Daily Actions Affect Chair Mechanics
From the moment a patient sits down to the final wipe-down, every interaction with the dental chair influences its mechanical and structural integrity. Understanding the “why” behind proper usage is the first step in preventing costly damage.
Mastering Patient Positioning and Transfers
I used to get frequent service calls about chairs making grinding noises or moving unevenly. More often than not, the culprit was a strained actuator motor caused by improper patient handling. A dental chair’s motors and actuators are engineered for smooth, controlled movements, not abrupt shock loads.
Common Mistake: Allowing patients to drop into the chair or assisting them with rough, jerky movements. This sends a jolt through the lifting and tilting mechanisms, putting immense stress on the internal gears and supports.
The Training Fix: The most effective technique I’ve taught is the “single-smooth-transfer.” Staff should be trained to lower the chair to its minimum height, raise the armrests, and guide the patient in a single, fluid motion. This simple, standardized procedure eliminates the jarring impacts that lead to premature wear on the chair’s most critical and expensive components.
Correct Use of Foot Pedals and Instrument Trays
The foot pedal and instrument tray are the most frequently used components of the chair, and also common points of failure when handled incorrectly.
Common Mistakes:
- Foot Pedals: Tapping the pedal aggressively or stretching the control hose to its limit. This not only stresses the pedal’s internal switches but also puts significant strain on the hose and its connection points.
- Instrument Trays & Armrests: Placing heavy tools, ultrasonic scalers, or other equipment on armrests or trays not designed to bear weight. This can cause stress fractures in the plastic and throw off the balance and calibration of delivery systems.
The Training Fix: Institute clear rules during onboarding and quarterly refreshers. Hoses should always be routed along their intended channels without tension. Staff should be instructed to use the foot pedal with deliberate, controlled pressure. Furthermore, make it a strict policy that armrests are for patients only and that heavy instruments must be returned to the designated, load-bearing delivery unit tray.
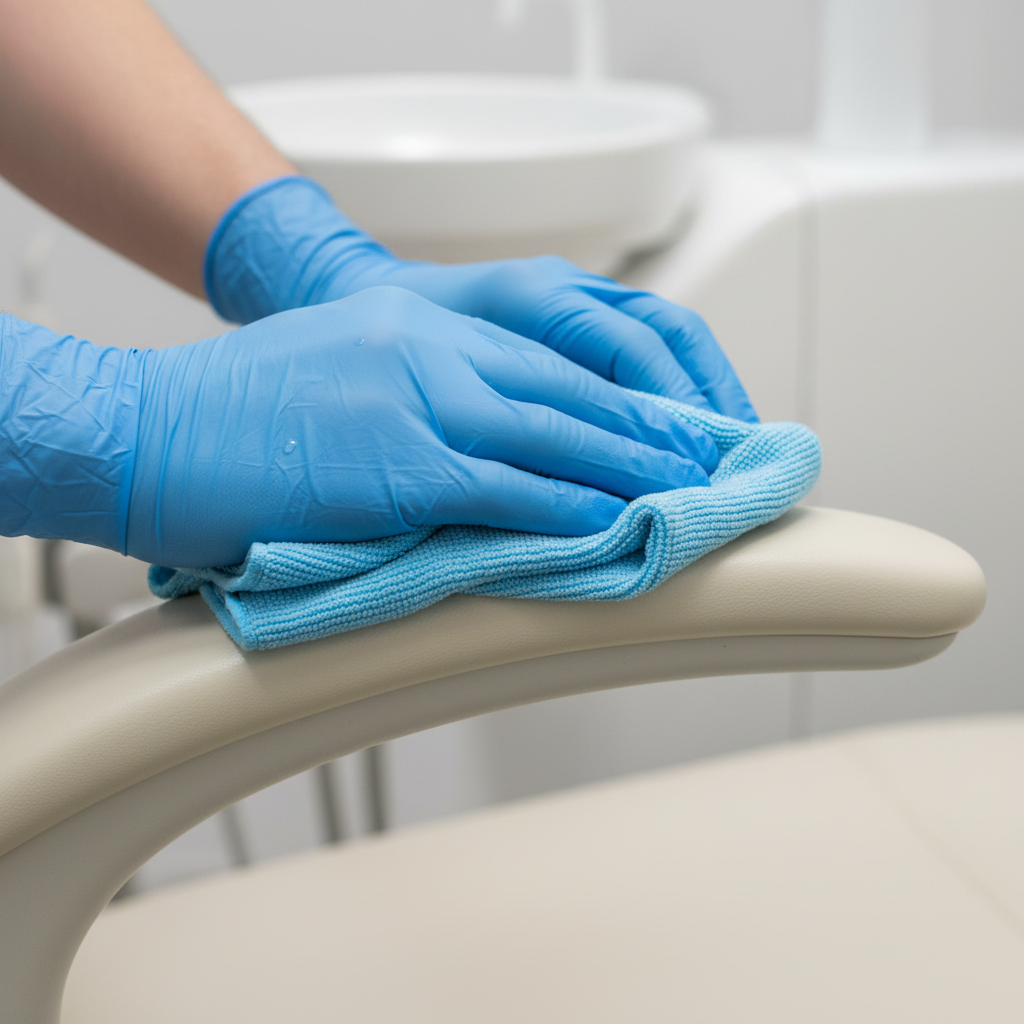
The Unseen Damage: Why Cleaning Protocols Are a Durability Issue
While infection control is paramount, the methods and chemicals used for disinfection can be a hidden source of long-term damage to a dental chair. Upholstery, in particular, is vulnerable to degradation if not cared for properly.
Choosing a Disinfectant That Cleans, Not Corrodes
The single biggest mistake I see in clinics is the use of harsh, inappropriate cleaning agents. Many common surface disinfectants contain high concentrations of alcohol, solvents, or bleach, which are devastating to modern dental upholstery.
Common Mistake: Using wipes or solutions not specifically approved for medical-grade synthetic upholstery. These chemicals strip the protective outer layer, causing the material to become brittle, crack, and discolor over time. You can learn more about this in our detailed Dental Chair Upholstery: A Cleaning & Care Guide.
The Training Fix: Your cleaning protocol must specify the use of pH-neutral, non-alcoholic disinfectants. Always test a new cleaning product on a small, inconspicuous area (like the underside of the footrest) before applying it to the entire chair. This simple spot-test can prevent catastrophic damage to your chair’s appearance and integrity. For more on material care, see our article on Maximizing Durability in Dental Chair Upholstery.
Debunking a Common Myth: Saturation vs. Contact Time
A pervasive myth in dental cleaning is that “more is better”—that soaking a surface in disinfectant ensures a more thorough clean. In reality, this practice is not only unnecessary but actively harmful.
Excess liquid can easily seep into the seams of the upholstery, where it saturates the foam padding and can penetrate into the chair’s electronic components. This can lead to persistent dampness, material degradation, and even electrical shorts. Authoritative guidelines for medical devices, such as those required for CE Marking in Europe, focus on the chemical’s specified contact time—the duration the surface must remain wet to be effective—not on total saturation.
The Training Fix: Train your staff to apply disinfectant with a cloth just damp enough to meet the required contact time, and then wipe the surface dry. This ensures compliance with hygiene standards without introducing a new risk factor for the equipment.
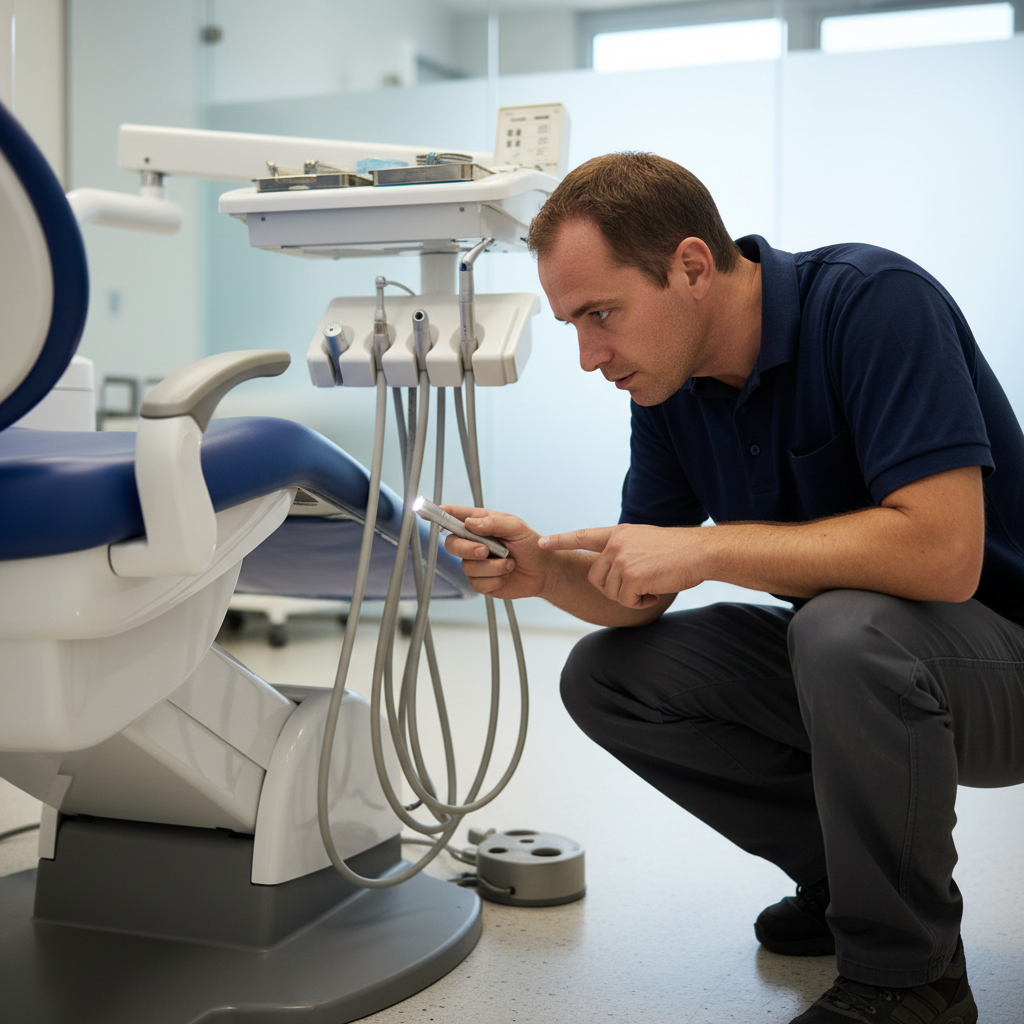
From Reactive to Proactive: Building a Maintenance Culture
Preventing major failures requires shifting from a reactive “fix it when it breaks” mindset to a proactive culture of regular inspection and maintenance. This approach is a cornerstone of formal quality management systems, such as ISO 13485:2016, which are designed to ensure medical devices perform safely and effectively throughout their lifecycle.
Establishing a Predictable Maintenance Schedule
The required frequency of maintenance depends heavily on clinic workload. A high-volume practice has vastly different needs than a smaller one. Based on my field experience, I recommend the following schedules:
| Clinic Type | Patient Load (per day) | Recommended Maintenance Schedule |
|---|---|---|
| High-Use Clinic | 50+ | Daily visual checks, weekly lubrication of key joints, professional servicing every 6 months. |
| Moderate-Use Clinic | < 50 | Weekly visual checks, monthly lubrication, professional servicing annually. |
This proactive schedule helps ensure your equipment remains compliant with regulations like the FDA’s Quality System Regulation (21 CFR Part 820), which mandates procedures for preventative maintenance.
The Power of a Daily Inspection Checklist
A simple checklist can empower your team to catch small issues before they become major problems. It takes less than two minutes at the end of the day but can save thousands in repairs.
Sample Daily Visual Checklist:
- Upholstery: Check for any new rips, punctures, or cracks.
- Movement: Run the chair through its full range of motion (height, backrest, tilt). Listen for unusual sounds and watch for jerky movements.
- Hoses & Cables: Ensure all connections are secure and there are no kinks, twists, or signs of wear.
- Base & Floor: Check for any fluid leaks (oil or hydraulic fluid) on the floor beneath the chair.
- Fasteners: Visually inspect accessible bolts and screws to ensure they are not loose.
Training Cadence: Making It Stick
Effective training isn’t a one-time event. To build a true culture of care, knowledge must be consistently reinforced.
- Onboarding: Every new team member should receive comprehensive training on chair operation and maintenance as part of their initial orientation.
- Quarterly Refreshers: Hold brief, 15-minute refresher sessions every quarter to review key procedures and answer questions.
- Incident Debriefs: If a mechanical fault does occur, use it as a teaching moment. After the repair, gather the team to discuss what happened and how it could be prevented in the future.
Measuring Success: Key Performance Indicators for Your Training Program
The impact of a successful training program is measurable. By tracking a few key performance indicators (KPIs), you can quantify the return on your investment in training and demonstrate the link between staff habits and your clinic’s financial health. For a deeper dive into this, see our article on how chair durability impacts financial health.
Here are three essential KPIs to track:
- Service Calls Per Chair/Year: The most direct measure of equipment reliability.
- Average Downtime Hours: Quantifies the operational impact of failures.
- Reported Improper-Use Incidents: Tracks adherence to protocols.
Hypothetical Impact Analysis:
| KPI | Before Training Program | 6 Months After Training | Improvement |
|---|---|---|---|
| Annual Service Calls Per Chair | 3.5 | 1.5 | -57% |
| Average Downtime Hours Per Incident | 8 hours | 2 hours (minor adjustment) | -75% |
| Improper-Use Incidents | 12 | 2 | -83% |
As the data shows, a structured training program can drastically reduce maintenance costs and operational disruptions.
Key Takeaways
Investing in staff training is not an expense; it is a direct investment in the longevity and reliability of your dental equipment. By moving beyond a simple understanding of features and functions to a deep appreciation of proper use and care, your team becomes the first line of defense against premature wear and costly repairs.
To maximize the lifespan of your dental chairs, focus on three core areas:
- Proper Operation: Standardize procedures for patient transfers and the use of controls to prevent mechanical stress.
- Correct Cleaning: Use only manufacturer-approved, pH-neutral disinfectants and avoid oversaturation to protect upholstery and electronics.
- Proactive Maintenance: Implement a schedule of regular visual checks and professional servicing based on your clinic’s usage levels.
By building these habits into your clinic’s culture, you ensure your equipment remains a reliable asset, not a recurring liability.
Frequently Asked Questions (FAQ)
Q1: How often should we really service our chairs?
A: This depends on your patient volume. We recommend professional servicing every six months for high-use clinics (50+ patients per day) and annually for moderate-use clinics. However, daily visual inspections by your staff are critical regardless of volume.
Q2: Can we use common household cleaners on the upholstery if we run out of the recommended product?
A: No. You should never use household cleaners, bleach-based wipes, or high-alcohol solutions. These can permanently damage the upholstery, leading to cracking and discoloration. It is better to wait for a proper medical-grade disinfectant.
Q3: What is the single biggest and most avoidable mistake clinics make?
A: The two most common and damaging mistakes are using harsh chemical disinfectants and rough patient handling. Both can be completely avoided with proper staff training and clear, enforced protocols.
Disclaimer: This article is for informational purposes only and does not constitute professional medical or technical advice. Always consult the manufacturer’s official documentation for your specific dental chair model and adhere to all local health and safety regulations. You should consult a qualified professional for specific maintenance and repair needs.
References
About the Author


