How Digital Dentistry Transforms the Dental Chair

This article is for informational purposes only and does not constitute professional medical advice. The operation and maintenance of dental equipment should be performed by qualified professionals. Always consult with certified technicians and adhere to local regulations and manufacturer guidelines, especially concerning electrical installation and patient safety.
The Digital Shift: Why Your Dental Chair Is More Than Just a Chair
The dental chair has long been the centerpiece of the operatory, but its role is undergoing a fundamental transformation. Historically a passive piece of furniture designed for patient comfort and practitioner access, the modern dental chair is now an active, integrated hub at the heart of the digital dentistry workflow. For dental clinics, training centers, and distributors focused on efficiency and value, understanding this shift is crucial for making smart investment decisions.
This article explores how the dental chair has evolved into the command center for digital dentistry. We will examine how technologies like CAD/CAM systems, 3D imaging, and practice management software interface with the chair to create a seamless, accurate, and efficient treatment ecosystem. We will also provide practical, experience-based guidance on how to optimize the setup for maximum ergonomic and operational benefit.
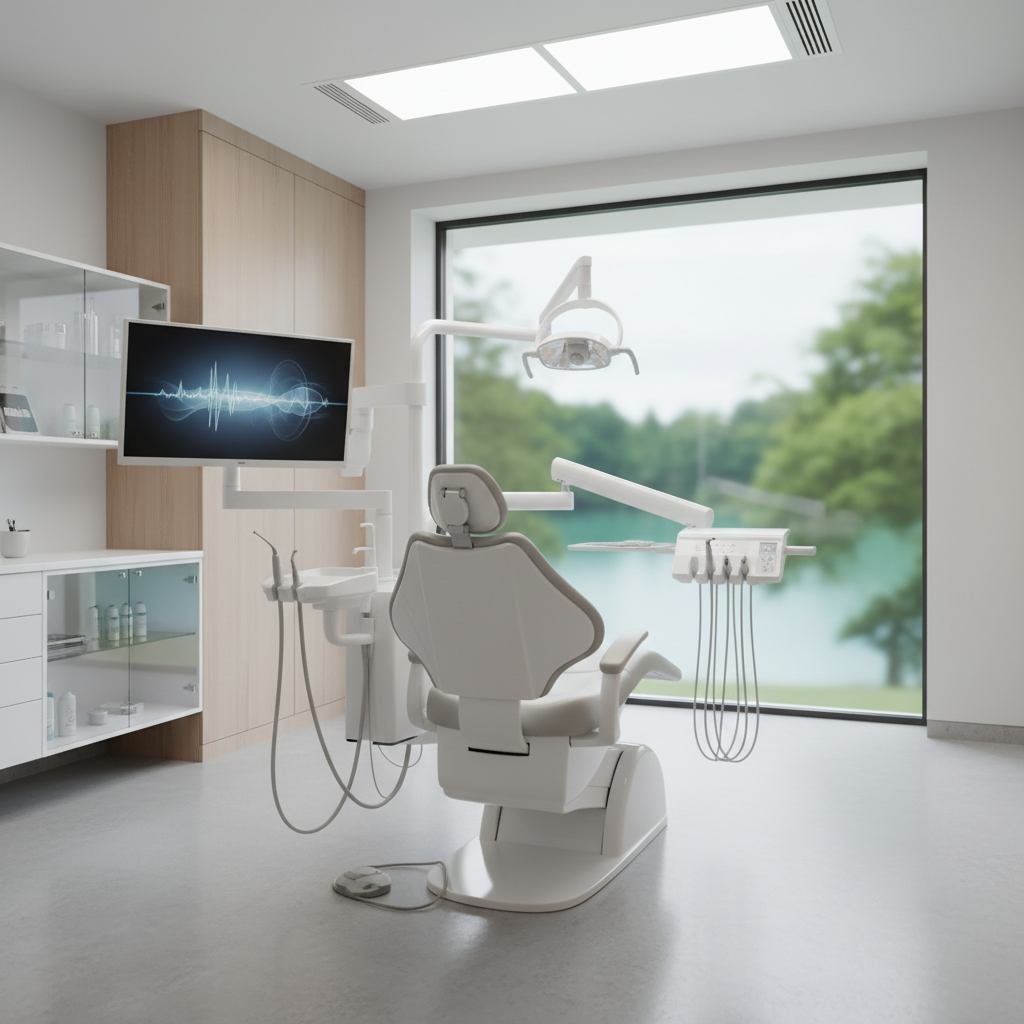
From Passive Furniture to an Active Digital Hub
The most significant change in modern dental practice is the move from analog to digital workflows. This transition places new demands on the operatory’s central component: the dental chair. It must now support monitors, intraoral cameras, scanners, and the cabling that connects them, all while maintaining practitioner ergonomics and patient comfort. A well-integrated chair becomes a force multiplier for efficiency, while a poorly planned one creates bottlenecks, physical strain, and compromised care.
Debunking a Common Misconception: The “Passive Furniture” Myth
A frequent and costly implementation error I have observed is treating a new, digital-ready chair as a simple replacement for an old one. Clinicians and installers who view it as passive furniture, rather than the core of a digital workflow, inevitably run into problems. This mindset leads to poor monitor placement that causes neck and eye strain, cable clutter that creates tripping hazards and signal integrity issues, and inefficient placement of instruments that slows down procedures.
In reality, the modern dental chair is an active piece of clinical technology. Its design and integration must be planned with the same care as any other piece of diagnostic or treatment equipment. This approach is not just about convenience; it’s about adhering to the quality management standards expected for all medical devices, as outlined in guidelines like ISO 13485:2016 – Quality Management Systems, which ensures that equipment consistently meets safety and performance requirements.
Key Digital Integrations and Workflow Impact
Integrating digital tools directly into the dental chair unit streamlines the entire clinical process, from diagnosis to treatment. This creates a single, cohesive workstation where every necessary tool is within immediate reach, minimizing movement and maximizing focus.
CAD/CAM and Intraoral Scanners
Computer-Aided Design/Computer-Aided Manufacturing (CAD/CAM) has revolutionized restorative dentistry. The workflow begins with an intraoral scanner, and its integration with the dental chair is paramount. A scanner connected directly to a chair-mounted monitor allows the practitioner to view the 3D model in real-time without turning away from the patient. This immediate visual feedback is invaluable for verifying scan quality and explaining treatment plans to the patient, enhancing case acceptance.
For optimal use, the scanner should be holstered within the primary reach zone (approximately 20–30 cm) and connected with a cable that provides adequate slack (~1.2–1.5 m) to maneuver around the patient’s mouth without tension.
3D Imaging and Monitor Placement
Cone Beam Computed Tomography (CBCT) and other 3D imaging modalities are becoming standard for complex procedures like implantology and endodontics. Displaying these large, detailed files requires a high-resolution monitor. The placement of this monitor is a critical ergonomic factor. Based on extensive field experience, the primary monitor should be positioned 50–70 cm from the operator’s eyes, with the top of the screen placed 10–15° below eye level. This angle prevents the neck strain that comes from looking up and the eye fatigue associated with improper focal distance. For more on this topic, see our guide on Achieving Practitioner Ergonomics on a Clinic Budget.

Optimizing Your Operatory: A Practical Implementation Checklist
Properly setting up a digital dental chair is a technical task that directly impacts clinical efficiency and the long-term health of the dental team. Failure to adhere to established ergonomic and technical principles can negate the benefits of the technology. The regulations set forth by bodies like the FDA in 21 CFR Part 820 emphasize a system-wide approach to quality, and your operatory setup is a key part of that system.
Here is a practical checklist for setting up a digital-ready operatory, based on best practices and common pitfalls.
| Area | Guideline | Why It Matters |
|---|---|---|
| Monitor Placement | Position primary monitor 50-70 cm from the operator. Top of the screen should be 10-15° below eye level. | Reduces neck strain and eye fatigue, allowing for sustained focus during complex procedures. |
| Instrument Tray | Keep the main instrument tray within a 20-30 cm primary reach zone. | Minimizes twisting and over-extension of the torso and arm, reducing the risk of musculoskeletal disorders. |
| Intraoral Camera | Use an articulating arm with ~1.2-1.5 m of cable slack. | Provides flexibility to easily position the camera without pulling or creating tension on the connector. |
| Mounting Systems | Standardize on VESA mounts for monitors and other peripherals. | Simplifies equipment swaps and future upgrades without requiring custom fabrication or drilling. |
| Electrical Circuits | Use dedicated, grounded circuits for the chair and all imaging/data devices. | Prevents electrical interference and protects sensitive electronics from power fluctuations. |
| Power Protection | Install an Uninterruptible Power Supply (UPS) for all imaging devices. | Prevents data loss and file corruption from scans or CBCT images during brief power outages or sags. |
Technical and Maintenance Imperatives
A digital dental chair is a complex system of mechanical, electronic, and software components. Ensuring its reliability requires adherence to technical installation standards and a proactive maintenance schedule. This is especially critical for clinics aiming to comply with stringent regulations like the EU’s Medical Device Regulation (MDR), which governs the entire lifecycle of medical equipment.
Electrical Integrity and Cable Management
Clean power and organized data lines are non-negotiable. Imaging devices, in particular, are sensitive to electrical “noise” and voltage drops. A dedicated electrical circuit prevents a device like an autoclave from causing a momentary power sag that could corrupt a CBCT scan mid-acquisition. Furthermore, a UPS is a small investment that provides critical protection against data loss.
Cable management is not just about aesthetics. Entangled cables are a common point of failure, leading to intermittent connections or complete signal loss. Using integrated cable channels in the chair and floor conduits prevents damage from rolling stools and foot traffic. Adding cable channels is a simple fix that can prevent significant downtime and diagnostic headaches.

Proactive Maintenance for Long-Term Reliability
To ensure your digital chair operates as intended, a routine maintenance schedule is essential. Here are a few high-impact checks:
- Monthly Mechanical Checks: Inspect and lubricate all actuators and moving joints according to the manufacturer’s specifications. This prevents premature wear and ensures smooth, quiet operation, which also enhances patient comfort and reduces anxiety.
- Control Latency Validation: The response time between a foot pedal press or a preset command and the chair’s movement should be imperceptible. A good benchmark is a latency of less than 200 milliseconds. Sluggish response can frustrate the operator and disrupt the workflow.
- Compressor Sizing: Your clinic’s air compressor powers handpieces and other functions. To prevent pressure drops during peak use (e.g., running a suction system and a handpiece simultaneously), the compressor should be sized to provide approximately 20-30% more airflow (L/min) than the chair’s peak demand. This ensures consistent performance and avoids stalls.
Key Takeaways
Transitioning to a digital workflow requires treating the dental chair not as a standalone object, but as the integrated core of your clinical operations. By focusing on a holistic integration strategy, you can unlock significant gains in efficiency, diagnostic accuracy, and practitioner well-being.
Remember these key principles:
- The chair is an active digital hub. Plan its integration with the same rigor you apply to any other piece of advanced medical technology.
- Ergonomics are paramount. Correct placement of monitors and instruments is not a luxury; it is essential for preventing chronic strain and maintaining focus.
- Technical details determine reliability. Clean power, robust cable management, and proactive maintenance are the foundation of a dependable digital operatory.
By embracing this new paradigm, dental clinics can build a more efficient, ergonomic, and future-proof practice that is ready for the next wave of dental innovation.
References
About the Author


