Troubleshooting Common Dental Chair Malfunctions

This article is for informational purposes only and does not constitute professional repair advice. Always de-energize and lock out equipment before performing maintenance. For complex repairs or if you are unsure about a procedure, consult a qualified service technician. Adherence to safety protocols is essential for preventing injury and ensuring compliance with regulations such as those outlined by the FDA 21 CFR Part 820.
In a busy dental practice, a malfunctioning dental chair is more than an inconvenience; it’s a direct hit to your clinic’s productivity and financial health. Every hour of downtime means a canceled appointment, a frustrated patient, and a loss of revenue. I’ve learned from years in the field that waiting for a technician for every minor issue is not a sustainable model. The key is to empower your team to quickly diagnose and, in many cases, resolve the most common problems that arise.
This guide is built on practical, hands-on experience. We will move beyond generic advice to provide a step-by-step framework for troubleshooting your dental chairs. You will learn to isolate the root cause of a problem—whether it’s hydraulic, pneumatic, or electrical—and take the correct steps to fix it. My goal is to help you reduce downtime, minimize service calls, and extend the life of your most critical operatory asset.
First Steps: Safety, Observation, and Isolation
Before you even pick up a tool, the first priorities are safety and methodical diagnosis. Rushing to a conclusion is a common mistake that often leads to more complex problems. A technician might replace a costly electronic board when the real culprit was a simple loose wire in the foot control.
Safety First: Lockout/Tagout Procedures
Never begin any diagnostic work without completely de-energizing the dental chair. This is a non-negotiable rule. Unplug the chair from the wall outlet and, if applicable, disconnect any other power or data connections. Use a lockout tag at the power source to ensure no one accidentally restores power while you are working. Furthermore, before working on hydraulic or pneumatic lines, you must bleed any stored pressure from the system to prevent sudden, uncontrolled movements. This isn’t just a best practice; it aligns with the quality management and safety principles required by standards like ISO 13485:2016, which governs medical device quality systems.
The Diagnostic Mindset: Isolate the System
Most chair malfunctions can be traced to one of three systems: hydraulic/pneumatic, electrical, or mechanical. The most effective troubleshooting technique I use is to isolate the problem system before drilling down.
- Visual and Auditory Inspection: Look for the obvious. Are there visible hydraulic fluid leaks on the floor? Do you hear an air hiss? Are any cables frayed or disconnected? Do any movements produce grinding or binding sounds?
- Replicate the Fault: If it’s safe to do so, briefly restore power and try to replicate the problem. Does the chair only drift down when a patient is in it (under load)? Does the backrest motor make a humming sound but not move? These clues are critical.
- Check the Simple Things First: Before assuming a major component has failed, always check fuses, power cable connections, and foot-control wiring. I’ve found that these simple points of failure account for a surprising number of service calls.
Troubleshooting Hydraulic and Pneumatic Failures
Hydraulic and pneumatic systems are the workhorses of a dental chair, responsible for the smooth, powerful movements required for patient positioning. When they fail, the symptoms are often dramatic.
Common Myth: Drifting is Always an Electronic Issue
A pervasive misconception is that when a chair slowly sinks or “drifts,” it must be an electronic control issue. In my experience, this is rarely the case. More than 80% of the time, drifting under a static load is a purely hydraulic or pneumatic problem. Before you even think about circuit boards, you should suspect either a failing gas spring or a leaking hydraulic valve. Isolating the hydraulic circuit first will save you significant time and diagnostic headaches.
Diagnostic Checklist for Chair Drifting and Movement Issues
Use this checklist to systematically identify the cause of movement-related problems.
| Symptom | Probable Cause | Diagnostic Step |
|---|---|---|
| Chair slowly sinks under load | Leaking hydraulic valve or failing gas spring | Disconnect power. If the chair continues to sink, the issue is with the hydraulic cylinder or its internal seals. It is not an electrical fault. |
| Movement is jerky or erratic | Air in hydraulic lines or low fluid level | Check the hydraulic fluid reservoir. If low, refill and bleed the system according to the manufacturer’s instructions. |
| Erratic movement only under load | Failing actuator motor or low power supply voltage | With the chair de-energized, check the motor connections. If secure, a technician will need to test the power supply voltage while the motor is activated to see if it drops significantly (e.g., more than 10-15%). |
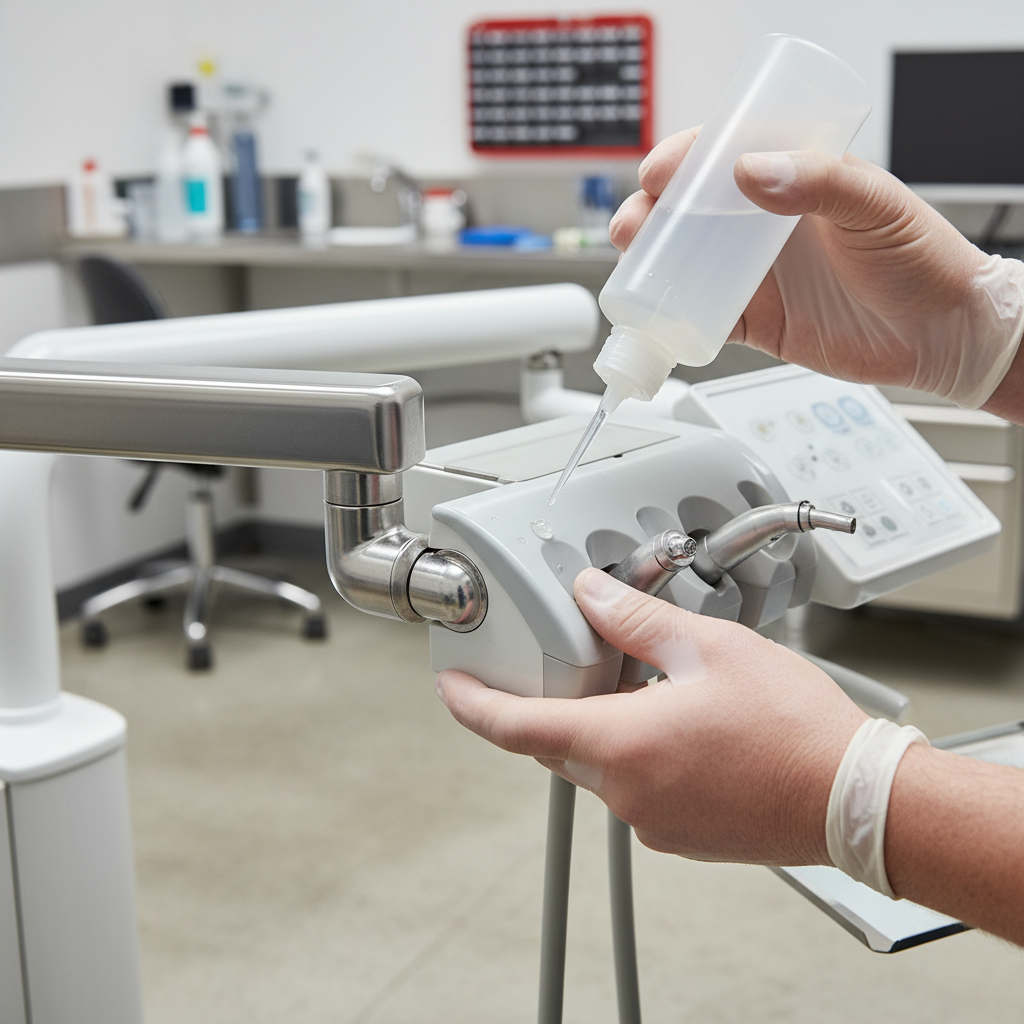
| Audible air hiss | Pneumatic leak | Use a soap-and-water solution on pneumatic lines and connectors. Bubbles will form at the site of the leak, which often requires tightening a fitting or replacing an O-ring. |
Diagnosing Common Electrical Faults
Electrical issues can range from a chair that’s completely dead to a single unresponsive function. These problems often stem from a failure in the power supply, control switches, or wiring.
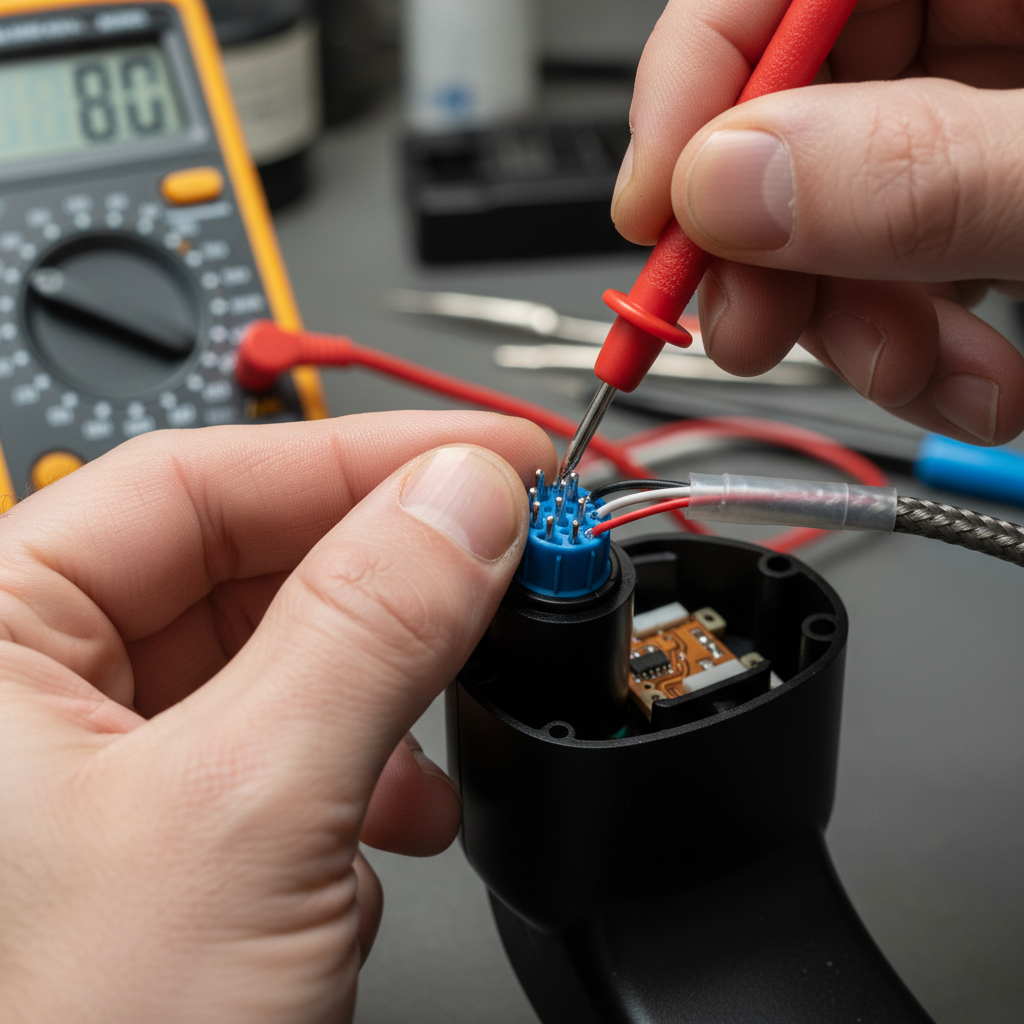
The Foot Control: A Primary Point of Failure
The foot control is one of the most frequently used components and its cable is constantly being moved and stressed. This makes it a top suspect for many electrical issues.
- Symptom: Intermittent or no response from the chair when using the foot pedal.
- Diagnosis: Carefully inspect the entire length of the foot control cable for visible damage, kinks, or severe bends. Pay close attention to where the cable enters the pedal and where it connects to the chair base. Disconnect and reconnect the main connector to ensure it’s secure. If you have a compatible foot control from another operatory, swapping it is the fastest way to confirm if the pedal itself is the problem.
No Power or Intermittent Operation
If the chair shows no signs of life, start with the most basic elements of the power system.
- Verify the Power Source: Is the outlet working? Plug another device into the same outlet to confirm. Check your clinic’s circuit breaker panel.
- Inspect the Power Cord: Ensure the power cord is securely plugged into both the wall and the chair base. Look for any signs of damage.
- Check the Main Fuse: Most dental chairs have a main fuse located near the power inlet. If this fuse is blown, the chair will be completely dead. Replacing it may solve the problem, but if the new fuse blows immediately, it indicates a deeper short circuit that requires a professional technician.
A Proactive Strategy: Maintenance and Spare Parts
Troubleshooting is a reactive skill; preventative maintenance is a proactive strategy. The best way to fix problems is to prevent them from happening in the first place. Adhering to a consistent maintenance schedule is not just about reliability; it’s a key requirement for certifications like the CE Marking and EU MDR, which mandate that medical devices are properly maintained to ensure safety and performance.
A Practical Maintenance Schedule for Busy Clinics
Based on what works in high-volume clinics, I recommend this cadence:
| Frequency | Task | Purpose |
|---|---|---|
| Daily | Visual Inspection & Wipe-Down | Check for leaks, frayed cables, and visible damage. Clean upholstery according to guidelines to ensure infection control and hygiene. |
| Monthly | Lubricate Pivot Points | Apply manufacturer-recommended lubricant to all major pivot points on the chair and delivery system to prevent binding and wear. |
| Quarterly | Pressure/Leak Tests | Perform a soap-and-water test on all pneumatic lines and fittings. Check hydraulic fluid levels. |
| Annually | Full Service & Seal Replacement | Have a qualified technician perform a full service, which should include replacing critical wear items like hydraulic seals and O-rings. |
The 60-70% Solution: Your Essential Spare Parts Kit
From experience, I can say that between 60% and 70% of all immediate repair calls can be solved on the spot with a small, well-curated kit of spare parts. Waiting for a technician to arrive only to find out you need a common $5 fuse is a massive waste of time and money. Here’s what I recommend every clinic keep on hand:
- A full set of fuses for the chair.
- Common O-rings and seal kits for pneumatic and hydraulic connections.
- A backup foot-control module.
- Commonly used actuator solenoids.
Keeping these parts in-house transforms a multi-day downtime event into a 15-minute fix.
Wrapping Up: From Reactive Repair to Proactive Reliability
Mastering the art of troubleshooting is a journey from reactive panic to proactive control. It starts with prioritizing safety and adopting a methodical diagnostic process: observe, isolate, and test. By understanding the common failure points in hydraulic, pneumatic, and electrical systems, you can quickly narrow down the possibilities and avoid costly misdiagnoses. More importantly, by implementing a rigorous preventative maintenance schedule and stocking a small kit of essential spares, you shift the entire dynamic. You are no longer just fixing what’s broken; you are investing in the durability and financial health of your clinic by ensuring uptime and extending the lifespan of your equipment.
References
About the Author


