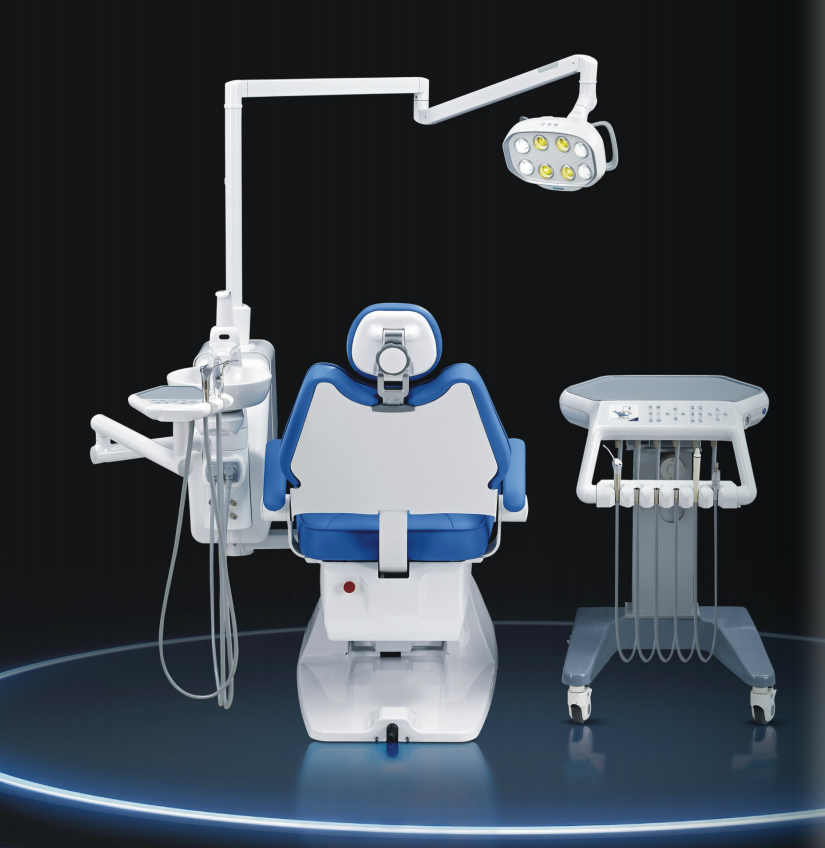
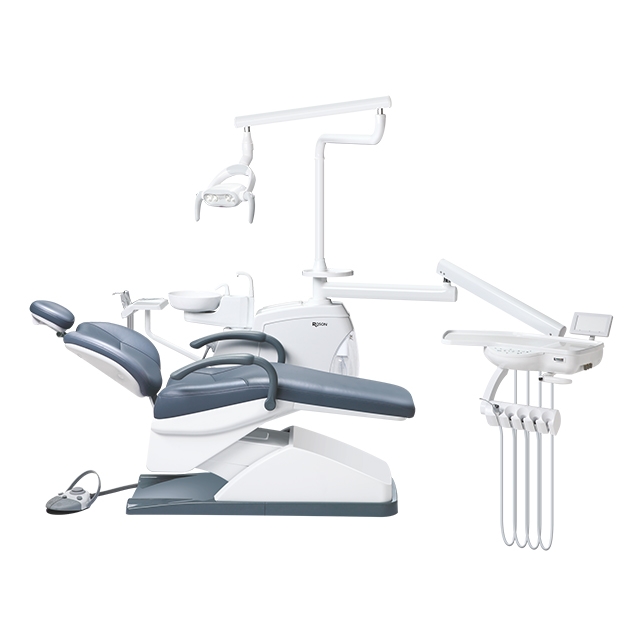
Picture this: you’re treating a patient, and suddenly your dental chair’s armrest starts sliding down on its own. Sound familiar? If you’ve been in practice for more than a year, you’ve probably dealt with this headache. A drifting dental chair armrest or headrest is usually caused by worn hydraulic seals, fluid leaks, or valve problems. The good news? Most of these issues are fixable once you know what to look for.
What Signs Point to Dental Chair Movement Problems?
Let’s start by figuring out what’s actually wrong with your dental chair. Sometimes the symptoms are obvious, but other times they sneak up on you. Here’s a breakdown of the most common issues you’ll see:
| Symptoms | Possible Causes | Severity Level |
| Won’t Stay in Position | Hydraulic Fluid Leak | High |
| Slow Sinking Motion | Worn Internal Seals | Medium |
| Strange Noises | Faulty Control Valve | Medium |
| Sluggish Response | Low Air Pressure | Low |
| Complete Loss of Movement | Electrical System Failure | High |
| Unusual Vibrations | Mechanical Component Wear | Medium |
The tricky part is that one symptom can have multiple causes. For instance, if your dental chair won’t hold its position, you might have a simple seal problem or a more serious hydraulic leak. That’s why proper diagnosis matters so much.
Most practices see these problems develop gradually over 3-5 years of regular use, according to dental equipment service reports. The key is catching them early before they turn into bigger headaches.
How To Check Your Dental Chair For Problems?
Now that you’ve read about signs, let’s troubleshoot step by step in determining exactly what is wrong. Read this as your step-by-step checklist.
Step 1: Visual Inspection
Start by carefully checking the area around the dental chair base for oil puddles or wet spots, and inspect all visible hydraulic lines for cracks, wear, or loose fittings. Also, examine the chair’s mounting points on the floor, as loose bolts can cause instability. This preliminary inspection helps identify potential issues early.
Step 2: Function Testing
Test the chair’s movement by raising and lowering it slowly and then quickly, ensuring smooth operation. Check each adjustment, including the armrests, headrest, and backrest, and note if any positions fail to hold or move smoothly. Accurately recording these issues aids further diagnosis.
Step 3: Listen For Strange Sounds
Pay attention to operational sounds; a healthy hydraulic system should produce only a gentle pump hum. Grinding noises indicate mechanical wear, high-pitched squeals often suggest air in the hydraulic lines, and clicking or intermittent sounds usually relate to valve problems that may require adjustment or replacement.
Step 4: Use Professional Tools
If visual and auditory checks are insufficient, use a pressure gauge to measure hydraulic pressure (typically 2,400–2,500 PSI) and a temperature gauge to detect pump or motor overheating. Identifying low pressure or excessive heat early can prevent serious damage and save repair costs.
This step-by-step approach will allow you to spot problems beforehand, either averting needed servicing in the initial instance, as well as saving money and time.
How To Fix Dental Chair Drifting Problems?
Now that it’s been diagnosed, it’s time to address repairs. Repairs can go anywhere from being a breeze to needing professional assistance. Let’s divide this up by difficulty level.
Step 1: Simple Adjustments
Start with low-risk fixes, such as securing the height adjustment mechanism and tightening any loose bolts. Apply moderate force to avoid damaging threads or seals.
Step 2: Replace Worn Parts
If skilled, replace worn seals or O-rings, which are common causes of minor drifting. Seal kits typically cost $50–$100, but improper handling may void warranties or pose safety hazards.
Step 3: Hydraulic Service
Repairs involving the core hydraulic system require handling high-pressure fluids and professional equipment. Services usually include flushing old oil, replacing filters, and pressure testing, taking 2–4 hours and costing around $400–$800 depending on complexity.
Step 4: Electrical Repairs
Electrical issues, such as faulty sensors, worn switches, or damaged wiring, require professional technicians and diagnostic tools. Attempting complex repairs without expertise may turn a minor $300 problem into a costly $2,000 failure, so know your limits and seek professional help when needed.
How To Prevent Dental Chair Armrest Or Headrest From Drifting?
Prevention is better than cure when it comes to dental chair maintenance. A little bit of regular maintenance will prolong your equipment’s life by decades and spare you money in repair costs.
Daily Care
Start each morning by quickly visually scanning your chair. Clean all surfaces with approved cleaners and inspect for easily noticeable issues like loose connections or unusual wear patterns. Once, in front of your first patient, ride up and down to verify smooth operation. This 2-minute daily check can spot trouble early, when it’s still easy to resolve.
Weekly Function Test
Give time at least weekly to move your chair through its full range of action. Practice each of your position controls – base height, backrest, headrest, and armrests. Notice new sounds or response time getting sluggish. Note anything unusual in a maintenance log. Taking this kind of action at least on a regular basis will give you a chance to detect burgeoning problems before they affect patient care.
Monthly Deep Inspection
Once per month, be sure to do a special inspection of the mechanical parts of your chair.
- Inspect hydraulic tubes for wear, cracks, and loose connectors.
- Inspect electric connections and cables to see if there is evidence of damage.
- Blow out vent locations and lube up spots as outlined in your owner’s manual.
This more extensive inspection usually finds issues that daily inspection misses.
Control Environment
Your chair’s environment is also key to its long life. Abrupt temperature changes, extreme humidity, and dust can all cause wear on sensitive parts. Operative temperature should be a comfortable 68-75°F, humidity 45-55%. If in a high-humidity room, consider a dehumidifier and cross-ventilation to keep dust away.
Professional Service Schedule
First of all, always keep up with the manufacturer’s schedule of services. It costs money up front, of course – typically in the range of $200-400 per service – but much less than in rescue repairs or early replacement. Experienced technicians will detect problems that might pass you by and the equipment to accomplish it in a professional fashion. Think of it as insurance on your investment.
FAQs
Q1. What is the Recommended Service Interval of My Dental Chair to Avoid Drifting Issues?
Service every 6-12 months, depending upon usage. 6-monthly intervals are called for by high-volume practices. Interim periods of monthly inspection, weekly function checks. Assess patterns by virtue of the maintenance log.
Q2. Am I Permitted To Use Car Hydraulic Oil in My Dental Chair?
Do not use car fluids. Dental chairs take proprietary, medical-grade, biocompatible fluids. Incorrect fluids will damage seals and void warranties. Use manufacturer-authorized fluid only ($30-50/quart).
Q3. What If My Dental Chair Suddenly Becomes Inactive While Undergoing Treatment?
Prioritize patient safety. Find the manual release valve (usually “emergency” marked at base) to safely go down in the chair. Never service with the patient in the chair. Check the power, breaker, and emergency stops before requesting service.
Take Action Today
Do not allow your dentists’ chair problems to get worse. Start out on the right track with a proper evaluation by taking the above steps, and schedule regular maintenance. If you already experience dental chair drift problems, talk to a qualified dental equipment technician and get it properly diagnosed. Your patients deserve reliable, comfortable care, and you deserve equipment that works when it counts. Schedule that much-needed maintenance appointment this week – your future self will thank you.


