How Operatory Design Impacts Dental Assistant Workflow

The Core of Efficiency: Four-Handed Dentistry and Ergonomics
Behind every efficient dentist is a highly effective dental assistant. Their synergy, often called four-handed dentistry, is the bedrock of a productive practice. This collaborative method, where a seated dentist and assistant work in unison, depends entirely on an operatory designed for seamless interaction. When the layout is flawed, the entire workflow suffers.
Inefficient movement is more than just a minor annoyance; it is a direct drain on productivity and a risk to professional longevity. Every time an assistant has to twist, reach, or turn away from the patient to grab an instrument or material, the procedure pauses. These micro-delays accumulate, extending chair time and creating physical strain. Over years, this repetitive motion can contribute to musculoskeletal issues. Research available through resources like PubMed consistently highlights the importance of ergonomic principles in dentistry to reduce workplace injuries and improve career longevity.
Debunking a Common Myth: More Space vs. Optimized Space
A frequent misconception in clinic design is that a larger operatory is inherently better. While adequate space is necessary, sheer size can be a detriment if not planned correctly. An overly large room can lead to instrument and supply placement that is far from the point of use, encouraging overreaching and inefficient foot traffic. The goal is not maximum space, but optimized space, where every tool and surface is intentionally positioned to support the clinical workflow.
Mastering the Assistant’s Workspace: The Zones of Access
To eliminate wasted motion, the assistant’s workspace must be organized around clear, ergonomic principles. This starts by categorizing instruments and materials based on their frequency of use and placing them within defined “Zones of Access.”
The Primary Zone: Instruments at Your Fingertips
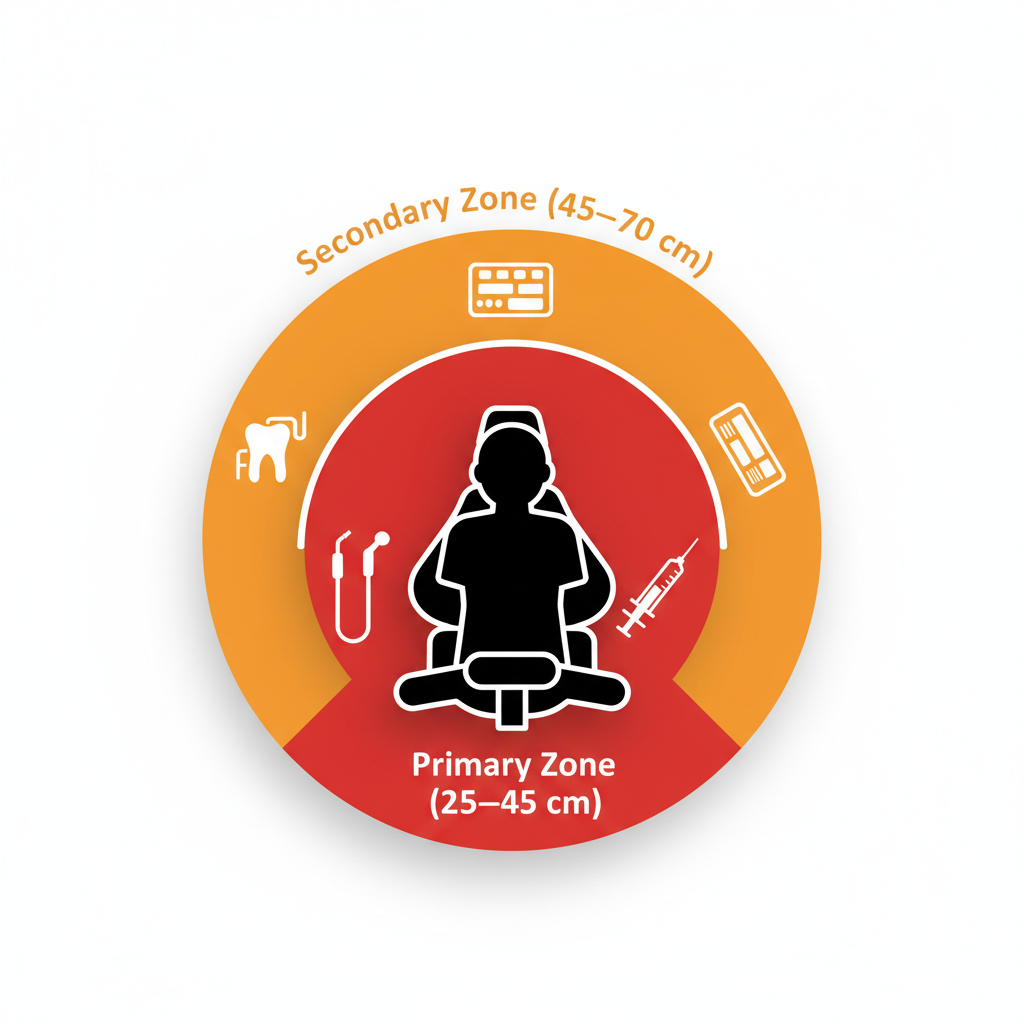
Field practitioners consistently report that the most critical items should be within a 25–45 cm radius of the assistant’s midline. This is the Primary Zone, an area accessible with minimal forearm movement and no torso twisting. Placing frequently used instruments here is the single most impactful change you can make to boost efficiency.
Items in this zone should include:
- Air/water syringe
- High-volume evacuator (HVE)
- Saliva ejector
- The most commonly used hand instruments for a given procedure
The Secondary Zone: Materials and Disposables
Items needed less frequently belong in the Secondary Zone, which extends from 45–70 cm from the assistant’s midline. Accessing this area may require a full arm extension but should not involve leaning or twisting the torso. This is the ideal location for procedure-specific materials, disposables, and back-up instruments.
To make this tangible, here is a simple framework for organizing your assistant’s workspace.
| Zone | Radius from Midline | Purpose | Example Items |
|---|---|---|---|
| Primary | 25–45 cm | Immediate, frequent use | HVE, Air/Water Syringe, Cure Light, Scaler |
| Secondary | 45–70 cm | Less frequent, procedural use | Amalgam capsules, Bonding agents, Gauze, Mixing pads |
Operatory Layout and Team Flow
A well-designed operatory considers the movement of the entire team, not just one individual. Proper spacing and utility placement are crucial for creating a safe and unobstructed environment.
Optimizing Clearance for Smooth Movement
Maintaining adequate clearance around the dental chair is non-negotiable. For medium-sized operatories, a clearance of 1.2–1.5 meters behind the chair is recommended. This allows staff to move freely, assist with patient transfers, and avoid collisions. In smaller operatories, a minimum of 0.9–1.0 meters is essential, which requires more disciplined consolidation of instruments onto mobile carts or within the chair-side delivery system.
Strategic Placement of Utilities
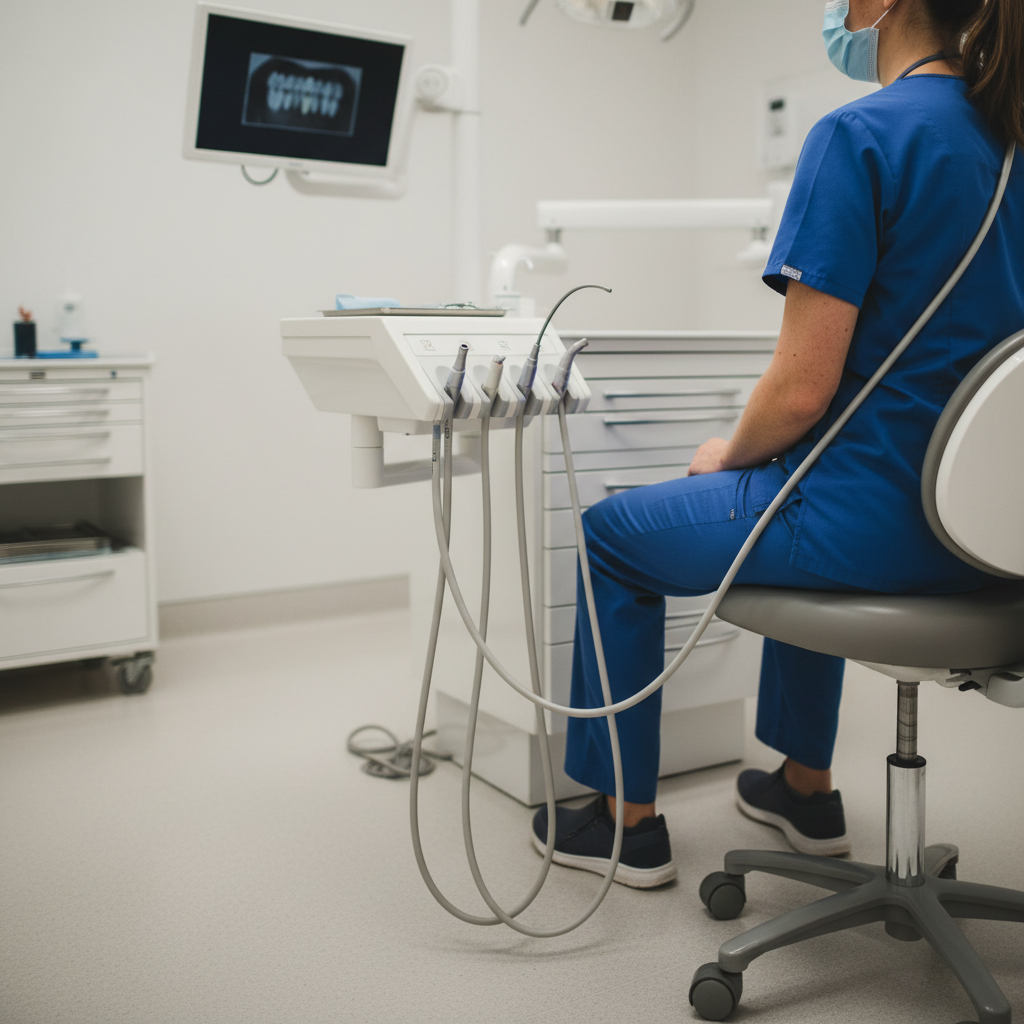
One of the most common workflow disruptions is the tangled mess of utility lines. Hoses for suction and air/water syringes should never cross over the patient or the dentist. To prevent this, utility outlets for suction and HVE must be located on the assistant’s work side. The lines themselves should be flexible and long enough to support an 80–120° work arc, allowing the assistant to maneuver easily without fighting the equipment. Furthermore, routing all cables through floor channels or integrated conduits is a critical safety measure that aligns with the quality management principles outlined in standards like ISO 13485:2016.
Actionable Fixes for Common Workflow Problems
Optimizing your operatory doesn’t always require a complete renovation. Implementing small, targeted changes can yield significant improvements in efficiency and team morale.
Standardize for Predictability
Reduce cognitive load and eliminate “Where is the…?” moments by standardizing instrument trays. Creating two or three procedure-specific tray setups ensures that the assistant has everything they need for a given treatment. This simple act of organization removes guesswork and dramatically speeds up preparation and procedural flow.
The Seated Ergonomics Checklist
Use this checklist to perform a quick ergonomic audit for your dental assistants:
- [ ] Start with the Foundation: Are feet flat on the floor or a stable footrest?
- [ ] Set Chair Height Correctly: Is the assistant’s seating position high enough to allow their thighs to slope gently downwards?
- [ ] Position Trays Below Elbow Level: Instrument trays should be positioned 5–10 cm below the assistant’s elbow when seated. This prevents shoulder shrugging and strain.
- [ ] Verify the Primary Zone: Are the most-used instruments within the 25-45 cm radius?
Validate Before You Finalize: The Power of Mock Rehearsals
Before committing to a new layout or equipment installation, conduct a mock rehearsal. Have your clinical team walk through several common procedures in the proposed space using mock-ups or existing equipment. Timing these runs can validate whether the new layout actually reduces movement and saves time. This type of validation is a core principle of quality system regulations, such as the FDA’s 21 CFR Part 820, as it helps mitigate risks before they are built into the physical environment.
Wrapping Up: Key Takeaways for a High-Efficiency Operatory
An operatory designed around the dental assistant is a force multiplier for the entire practice. By focusing on ergonomic principles, you reduce physical strain, minimize errors, and improve the speed and quality of patient care. The key is to design with intent: respect the zones of access, provide adequate clearance, place utilities strategically, and standardize your procedures. A thoughtfully designed workspace is not an expense; it is an investment in the productivity, safety, and longevity of your clinical team, and a cornerstone of meeting modern regulatory standards like the EU Medical Device Regulation (MDR).
Frequently Asked Questions (FAQ)
What is the single biggest mistake in operatory design for assistants?
The most common and detrimental error is placing primary instruments and delivery systems outside the immediate ergonomic zone (the 25-45 cm radius). This forces the assistant into constant twisting and reaching, which causes fatigue and slows down the entire procedure.
How much space is truly needed behind the dental chair?
Focus on optimized clearance rather than raw square footage. Aim for 1.2–1.5 meters in average-sized rooms and a non-negotiable minimum of 0.9 meters in smaller operatories to ensure safe and fluid movement for the clinical team.
Can these principles be applied to an existing, smaller operatory?
Absolutely. The key is disciplined organization. Focus on consolidating instruments, using mobile carts to bring items into the primary zone as needed, and ensuring utility lines are managed effectively to maximize the utility of every square inch.
Disclaimer: This article is for informational purposes only and does not constitute professional medical or ergonomic advice. Dental professionals should consult with certified ergonomic specialists to address specific needs, especially if they have pre-existing health conditions. The design and setup of a clinical environment should always comply with local, state, and federal regulations.
About the Author