Reducing Strain Injury Risk for Dental Professionals

The Hidden Toll of Dentistry: More Than Just Back Pain
Repetitive strain injuries (RSIs) represent a significant threat to a dental professional’s career longevity. While back pain is a widely acknowledged issue, the risks to the hands, wrists, and shoulders are equally pervasive and can be career-ending. The very nature of dental work—requiring sustained, precise movements in a constrained space—creates a perfect storm for musculoskeletal disorders (MSDs). According to research available through PubMed, a high prevalence of MSDs is reported among dental professionals, affecting not just the back, but the entire upper body.
A common myth is that only poor-quality chairs or a lack of lumbar support causes strain. In reality, many injuries I’ve seen in clinics stem from seemingly minor, repetitive actions that add up over time. These include prolonged pinch-gripping of instruments, awkward wrist angles to get a better view, and reaching for poorly positioned instrument trays. This article provides a comprehensive framework for mitigating these risks through practical ergonomic interventions, from equipment setup to daily work habits.
Understanding the Primary Risk Zones
Beyond the lumbar spine, three areas are highly susceptible to injury:
- The Wrists: Conditions like carpal tunnel syndrome are common, caused by repetitive flexing and extension of the wrist and sustained pressure on the median nerve.
- The Hands and Fingers: Tendinitis can result from the constant, forceful pinching required to control instruments. A light but secure grip is a skill that pays dividends in long-term hand health.
- The Shoulders and Neck: Elevating the shoulders to compensate for a chair that’s too low or reaching for distant equipment can lead to chronic tension, rotator cuff strain, and nerve impingement.
Foundational Ergonomics: Mastering Your Chair and Position
Your first line of defense is a neutral, balanced posture. This is impossible to achieve without correctly adjusting your equipment. A mistake many practitioners make is adjusting the patient’s chair first and then contorting their own body to fit. The correct approach is to start with your own position and bring the patient and equipment to you.
The Operator Stool: Your Ergonomic Anchor
Think of your stool as your foundation. If it’s not set correctly, everything else will be a compensation. I used to end my days with sharp shoulder pain, which I blamed on long procedures. The real culprit was my operator stool being set about an inch too low, causing me to unconsciously raise my shoulders all day.
Use this checklist to establish a neutral seated position:
| Adjustment Point | Optimal Position | Rationale and Common Pitfalls |
|---|---|---|
| Seat Height | Feet flat on the floor, thighs angled slightly downward. | Pitfall: Setting the seat too high lifts your feet, destabilizing your base. Setting it too low forces your knees above your hips, straining your lower back. |
| Elbow Angle | Forearms parallel to the floor, with elbows at a 90- to 110-degree angle when hands are at patient mouth level. | Pitfall: If your elbows are bent more than 110 degrees, you’re likely too high. If they are less than 90 degrees, you’re too low and will elevate your shoulders. |
| Seat Pan Depth | Allow a gap of 2–3 finger-widths between the back of your knees and the edge of the seat. | Pitfall: A seat that is too deep can cut off circulation and press on nerves behind the knee. |
| Lumbar Support | Adjust the support to fit the natural curve of your lower back, typically 2–5 cm above the seat pan. | Pitfall: Support that is too high or too low fails to maintain the natural lumbar curve, leading to slouching or overarching. |
Patient Chair and Working Distance
Once you are in a stable position, adjust the patient chair. The goal is to bring the oral cavity to a height that allows you to maintain your neutral posture.
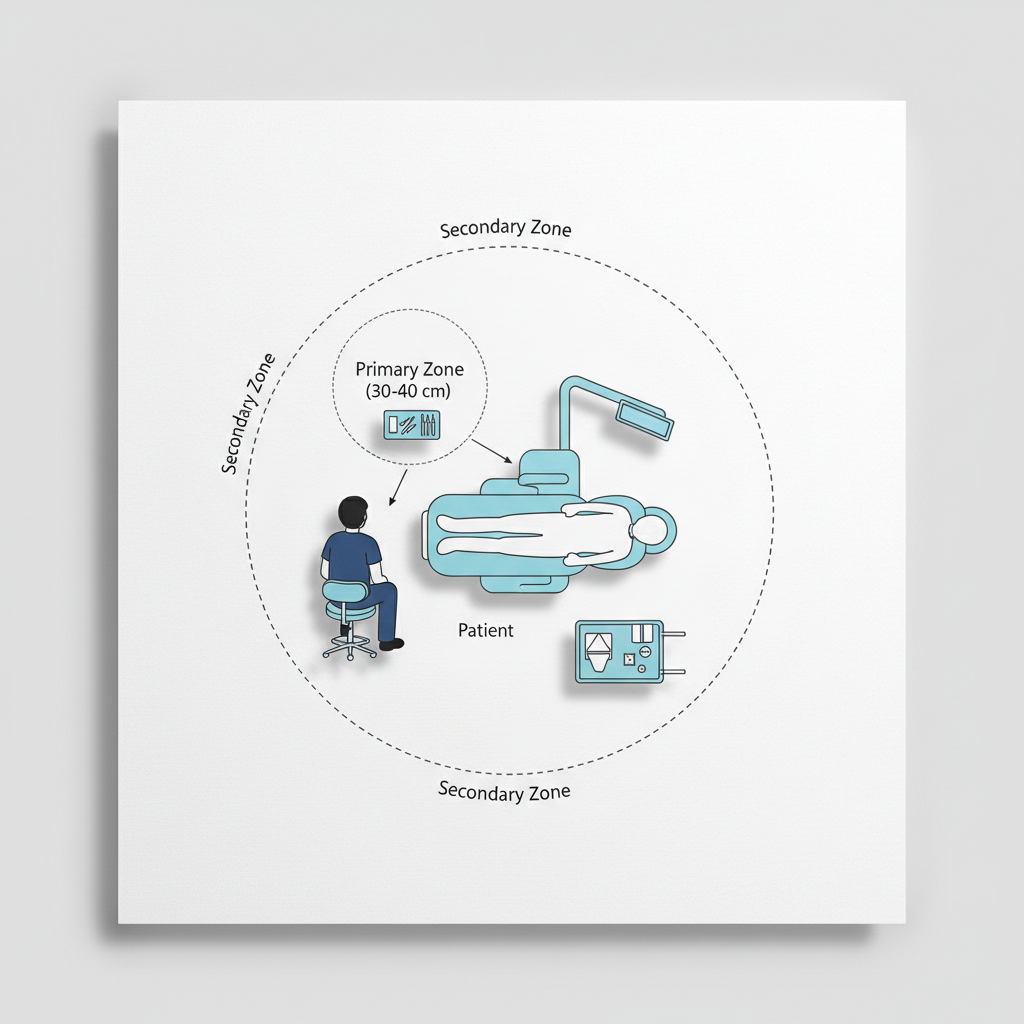
- Working Distance: Maintain a working distance of 30–40 cm between your eyes and the patient’s mouth. This is crucial for keeping your neck and upper back in a neutral position. If you use magnification loupes, this distance may be closer, but your posture should remain neutral.
- Patient Position: Adjust the patient’s headrest and chair tilt so you can view the treatment area by rotating your head slightly, not by bending or extending your neck.
Optimizing the Operatory Workflow
Ergonomics extends beyond static posture to include how you move and interact with your tools. Efficient workflow design minimizes unnecessary strain and fatigue.
Instrument Selection and Placement
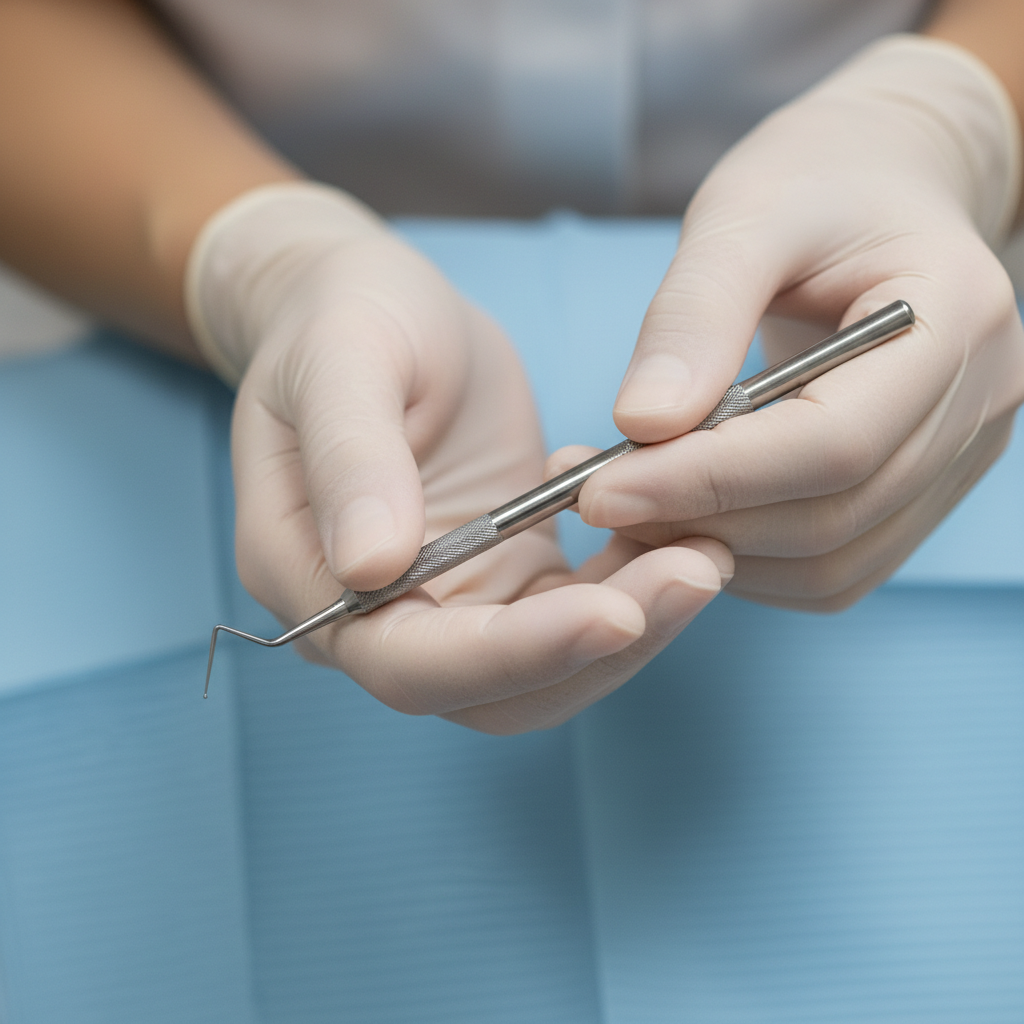
The instruments themselves can be a source of strain. My “aha!” moment came when I switched to lighter handpieces with wider handles. The amount of pinch force I needed to exert dropped significantly, and the fatigue in my hands at the end of the day almost disappeared.
- Instrument Handles: Opt for instruments with handle diameters of 8–12 mm. This size promotes a more relaxed grip compared to thinner handles, reducing finger and hand fatigue.
- Instrument Tray: Position your main instrument tray so that it is within a comfortable reach of no more than 30–40 cm. Constantly reaching beyond this radius puts significant strain on the shoulder and upper back.
- Foot Controls: Place the foot pedal in a location that is directly in line with your dominant foot and within approximately 20 cm, so you don’t have to twist or extend your leg to activate it.
The Power of Microbreaks and Maintenance
Our bodies aren’t designed for static positions. Building short breaks into your workflow is one of the most effective ways to combat muscle fatigue.
- Implement Microbreaks: Take a 2–3 minute break every 20–30 minutes, or a 5-minute break every hour. During this time, stand up, stretch your hands, wrists, and shoulders, and look away from the patient to relax your eyes.
- Rotate Tasks: When possible, rotate demanding tasks between the operator and the assistant to vary muscle usage.
- Routine Maintenance: Regularly check that headrests and armrests are tight. A loose headrest can cause you to unconsciously support the patient’s head, leading to neck and shoulder strain. Ensuring your equipment is reliable is a key part of quality management, as outlined in standards like ISO 13485:2016, which governs medical device quality systems.
Advanced Considerations for Long-Term Health
For dental practices and training centers, creating an ergonomic environment requires a systemic approach. It involves not just individual adjustments but also the selection of compliant and well-designed equipment.
Equipment for Different Clinical Needs
- Teaching Clinics: These environments benefit from highly mobile chairs with clear, easy-to-read adjustment markings. This allows students of different heights and body types to quickly set up their stations correctly.
- High-Volume Practices: Durability is key. Prioritize chairs with robust, easy-to-clean upholstery and fast, reliable adjustment mechanisms to handle the demands of rapid patient turnover.
When sourcing equipment, certifications like the CE Marking indicate conformity with European health and safety standards, providing an extra layer of trust in the product’s design and manufacturing quality. As noted by the National Institute of Dental and Craniofacial Research (NIDCR), ongoing research continues to refine our understanding of best practices for dental workplace design.
Key Takeaways for a Longer, Healthier Career
Protecting yourself from career-threatening strain injuries goes far beyond simply buying an “ergonomic” chair. It is an active, daily practice of awareness and adjustment. True ergonomics integrates the operator, the patient, the equipment, and the workflow into a single, balanced system.
Start by mastering your neutral posture, beginning with your own stool. Arrange your operatory to minimize reach and strain. Choose instruments that reduce hand fatigue and build microbreaks into your schedule. By focusing on these principles, you can protect your hands, wrists, and shoulders, ensuring a long and healthy career in the profession you love.
Disclaimer: This article is for informational purposes only and does not constitute professional medical advice. Dental professionals should consult with a qualified healthcare provider or an ergonomics specialist to address specific musculoskeletal issues, especially if they have pre-existing conditions.
References
About the Author