Dental Chair Down? 5 Common Problems You Can Fix Yourself (And When to Stop)

When a dental chair stops working, it can interrupt your entire schedule. But not every problem needs a service call. Some issues are simple and quick to fix with the right tools and a little know-how. In this guide, you’ll learn which repairs you can safely do yourself, and when to call in a technician.
Your In-House Toolkit: Essential Tools for Basic Troubleshooting
Before starting, gather a few tools you’ll need:
- Multimeter (for testing power)
- Screwdrivers (flat and Phillips)
- Adjustable wrench
- Clean cloth and cotton swabs
- Lubricating oil (non-corrosive, resin-based)
- Flashlight
- Zip ties or cable wraps
- Small replacement parts (fuses, bulbs, rubber gaskets)
Keep these tools in a dry, labeled box near your dental chair. Clean them after each use to avoid contamination.
DIY Fix #1: The Unresponsive Chair
If your dental chair is not moving or reacting to controls, start here:
- Step 1: Check the main power. Make sure the power switch is in the ON position. Test the outlet with another device to confirm power flow.
- Step 2: Inspect the fuse. Most chairs have a fuse near the base or in the rear cabinet. If the fuse is dark or broken, replace it with the same type and rating.
- Step 3: Test the foot control. Try pressing the reset button if available. If nothing works, disconnect and reconnect the foot control plug. Look for loose pins or bent contacts.
- Step 4: Examine the wires. Follow the cable lines to check for cuts, pulled wires, or burnt insulation. Damaged wires may need to be replaced or temporarily wrapped until a technician arrives.
If the chair still won’t respond after these steps, the circuit board or motor may be involved. Stop here and contact a licensed technician.
DIY Fix #2: Weak Suction Power
Low or no suction often points to a blocked line or dirty filter. Try this:
- Step 1: Check the pressure. Weak suction often means low air pressure. Check that the air compressor shows 5.5–6 kg/cm². If pressure is below this, recharge the system or look for leaks.
- Step 2: Inspect the suction filters. Open the side box or suction unit. Unscrew the strong and weak suction filter caps. Rinse the filters in clean water and remove visible debris.
- Step 3: Clear the tubing. Use a small air blower to push debris out of the suction line. Avoid using sharp tools that can damage the tubing wall.
- Step 4: Check the hanger valve. Sometimes the valve inside the hanger gets stuck. Pull it out gently and clean it with a dry cloth.
If suction power does not improve, the suction pump or solenoid valve may be damaged. Stop the repair process and call for service.
DIY Fix #3: The Flickering or Dead Operating Light
A suitable dental light can help you work. When it blinks or stays dark, follow these steps:
- Step 1: Test the lamp beads. Turn off the chair. Use a screwdriver to remove the lamp cover. If the bulbs look blackened or broken, replace them with the same model.
- Step 2: Inspect the power line. Check if the light’s power cord is fully plugged in. Pull out and reconnect the wire if needed. Wiggle gently while reconnecting to improve contact.
- Step 3: Check the fuse. Find the fuse related to the dental light. It may be located on the shared power board. Replace it if it has burned out.
- Step 4: Confirm the transformer is working. Use a multimeter to test for voltage at the transformer’s output side. If there’s no voltage, the transformer may have failed.
If replacing the bulb and fuse doesn’t fix the light, the internal circuit board might be the issue. You’ll need professional help.
DIY Fix #4: Minor Water Leaks
A small water leak can cause big problems if ignored. Here’s how to spot and stop it early:
- Step 1: Dry and locate the source. Wipe the area around the leak and run water briefly to spot the origin. Use a flashlight for hidden spots.
- Step 2: Check handpiece tubing connections. If leaking occurs at the handpiece base, tighten the connector clockwise. Do not overtighten. Replace worn-out rubber rings if needed.
- Step 3: Inspect the spittoon. If water drips near the base, check the spittoon’s drainpipe. Push the pipe back in if loose, or replace it if cracked.
- Step 4: Examine the water bottle cap and seals. Pressure in the water bottle can loosen over time. Remove the bottle, check the gasket, and retighten the cap.
Never ignore water near the motor or base. If the leak continues or reaches electrical parts, stop work immediately and call for help.
Red Flags: Critical Issues That Always Require a Certified Technician
You should never attempt repairs when these signs appear:
- Burning smell near the control panel
- Chair movement with jerks or sudden stops
- Constant electrical tripping
- Loud grinding noise during chair adjustment
- Multiple failures at once (light, motor, suction, and water)
These symptoms often mean failure of the mainboard, motor gear system, or transformer. Opening the housing without training may void your warranty or risk electrical shock. If in doubt, do not guess. Shut off the dental chair power and document the problem for the technician.
When to Consider Replacing the Chair Instead of Repairing
Some problems can be repaired. Others keep coming back. When your dental chair starts failing in multiple areas—power, water, suction, light—and the downtime starts affecting patient care, it may be time to stop patching and choosing a good dental chair.
Here are signs that a replacement is smarter than another repair:
- Frequent circuit board or motor issues
- Replacement parts are no longer supported
- Patient comfort is clearly reduced (jerking, noise, vibration)
- Your current chair lacks safety systems or infection control features
- More than one critical system is failing at the same time
In these cases, switching to a new chair means fewer emergencies, better hygiene, and improved performance across the board.
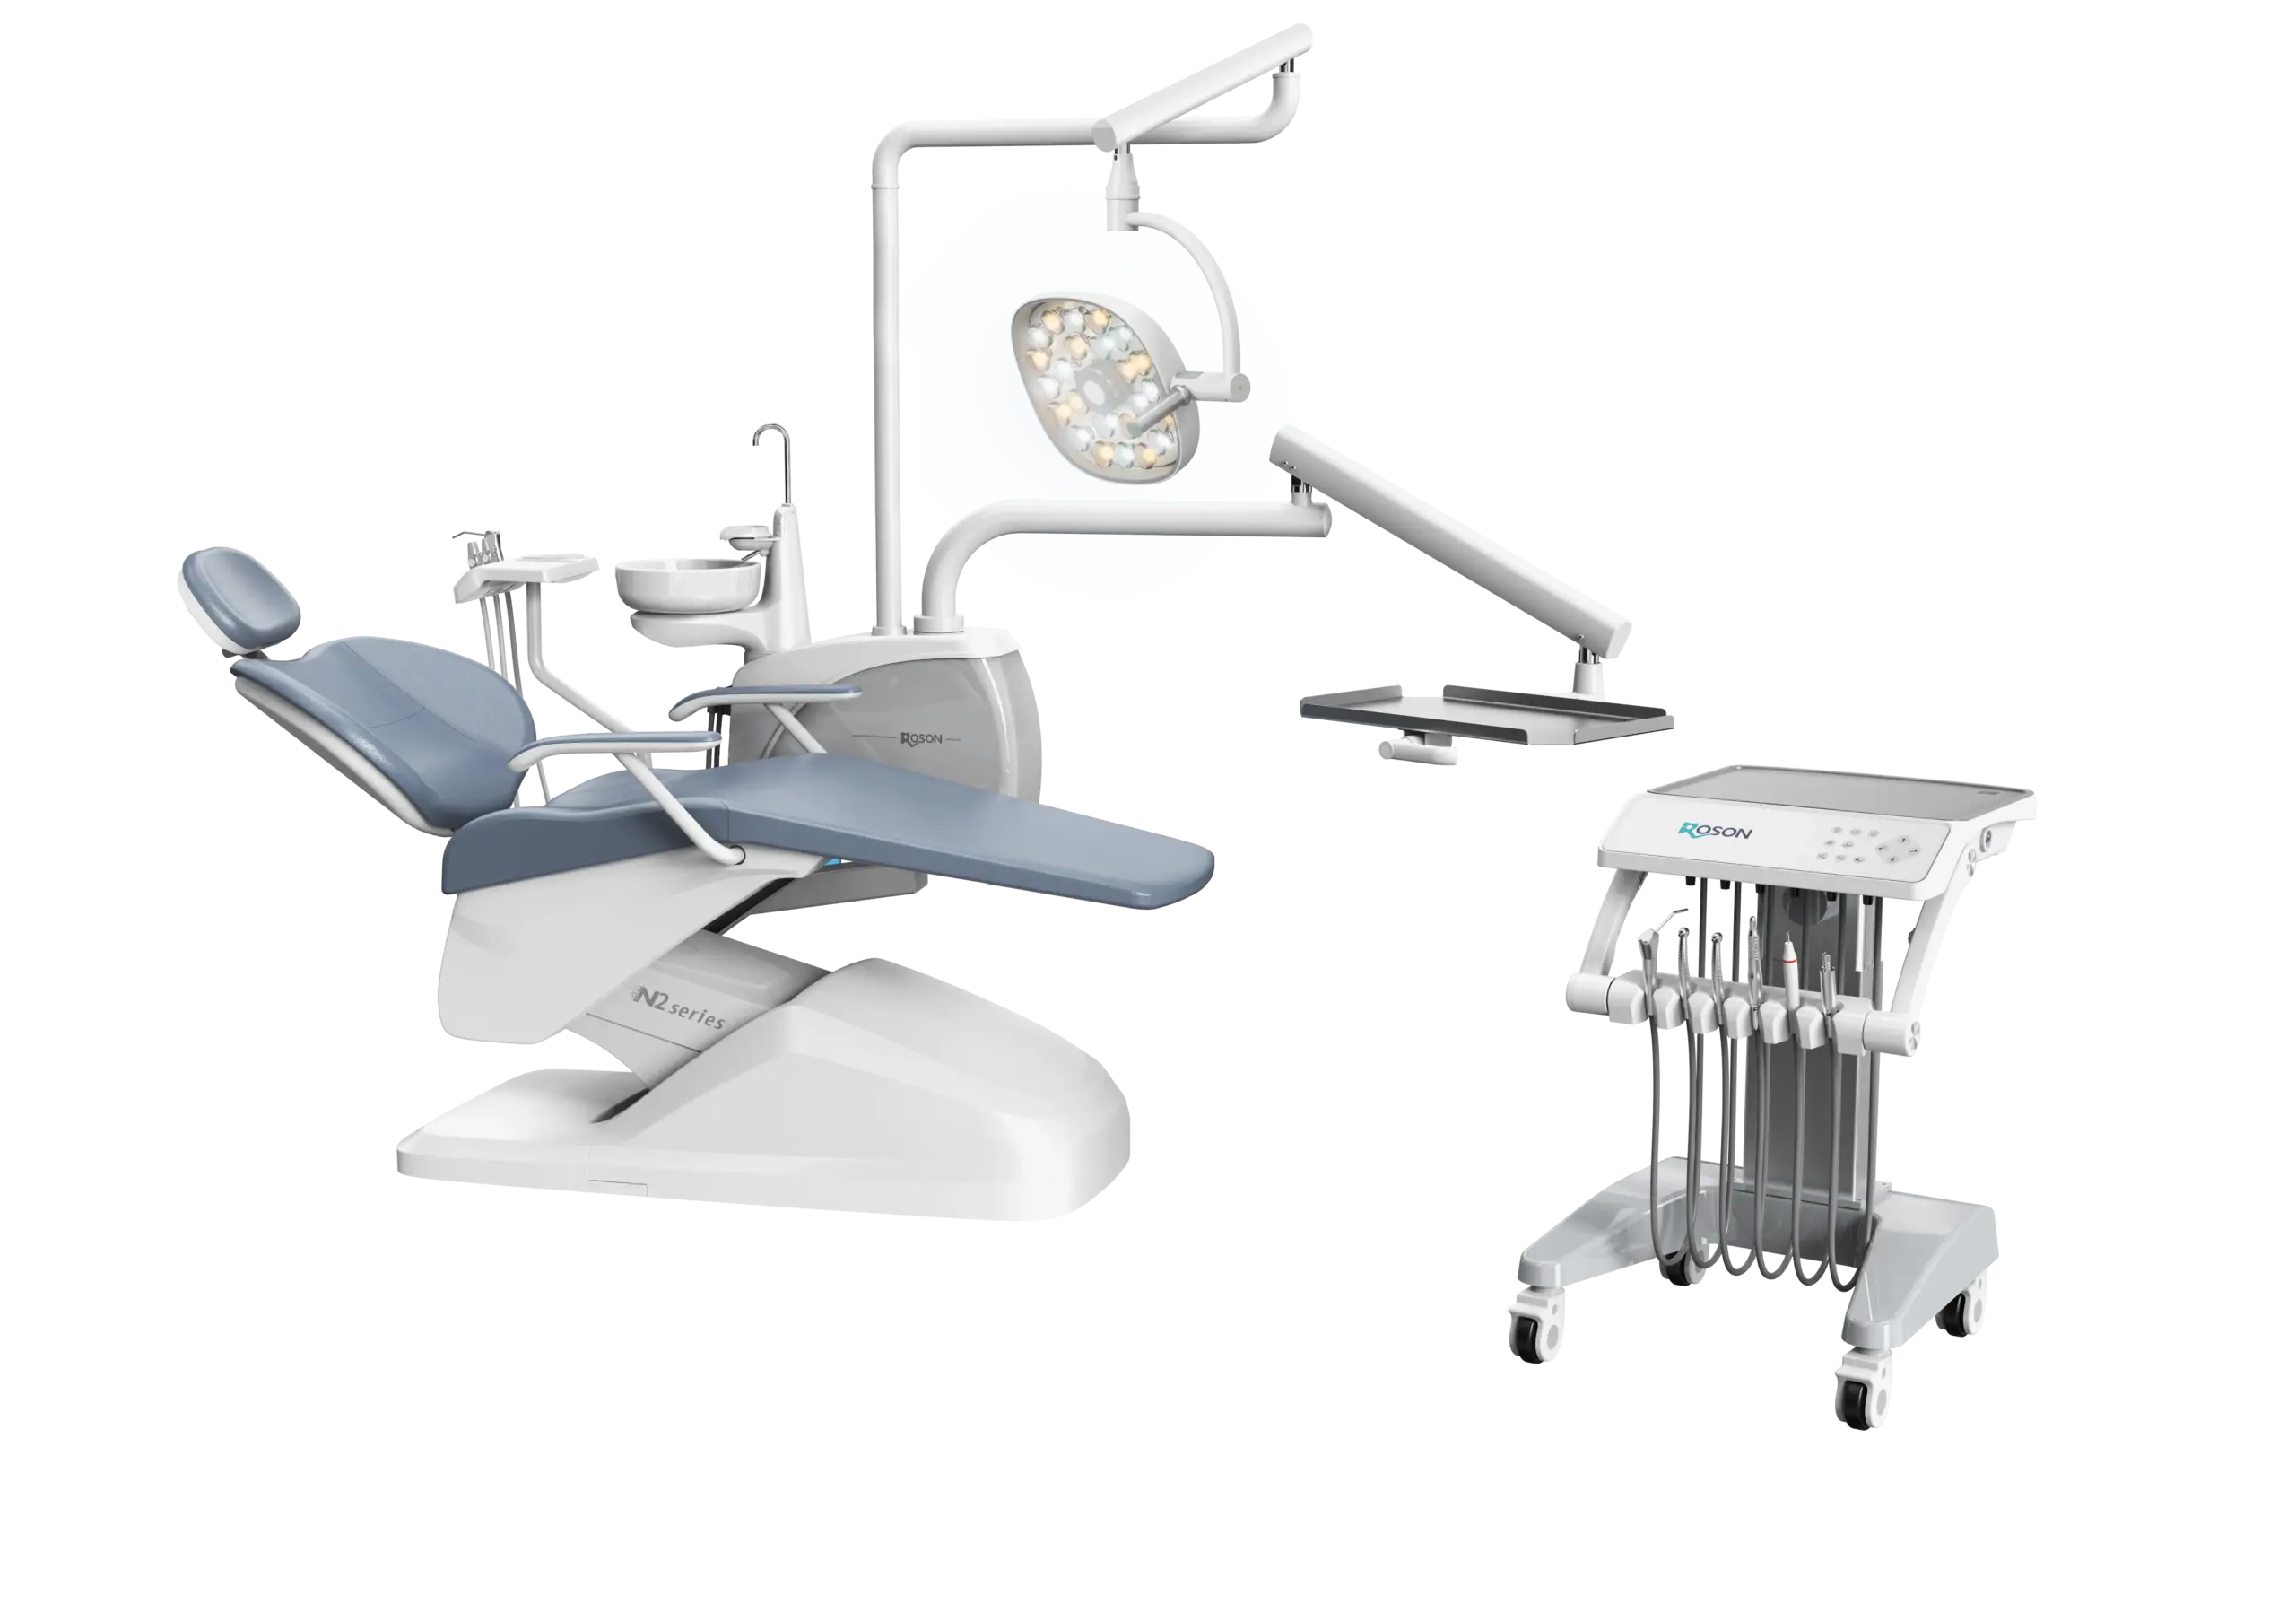
Why Many Clinics Now Choose ROSON
ROSON offers a wide range of dental chair models, from cost-effective to advanced professional units, that meet the daily needs of modern practices. Our chairs are known for:
- Stable lifting motion and smooth stop/start control
- One-touch smart drainage and ergonomic patient support
- Hands-free four-way foot control and integrated hot water supply
- Built-in disinfection systems and sensor-activated infection lighting
- Anti-collision safety design for both patient and operator protection
All models, such as the ROSON Flagship A3, Affordable Luxury S9, and Professional S6, include digital touch-screen controls and spacious instrument trays. These features help streamline workflow and reduce stress during procedures.
ROSON products are developed in ISO 9001 and ISO 13485 certified factories. We offer CE-compliant quality, robust internal component control, and a strong production capacity up to 1000 units per month.
We also provide:
- Global service in over 100 countries
- One-stop sourcing and branding support
- Full consultation from selection to delivery
- 99%+ user satisfaction upon unboxing
If your current chair is breaking down more than it’s working, ROSON gives your practice a future-ready upgrade with proven reliability.

FAQs
Q1. How often should I clean the dental chair’s suction filter?
It is best to clean both the strong and weak suction filter cups every 1–2 weeks. Neglecting this task can lead to serious blockages, reduced suction performance, and contamination risks. Use clean water and dry cloths—avoid chemicals that could damage plastic parts.
Q2. What is the safe air and water pressure range for a dental chair to work properly?
The suction system usually requires an air pressure of 5.5–6 kg/cm², while the water system runs best at 2–4 kg/cm². Incorrect pressure can lead to weak suction, water flow problems, or component damage. Always check the compressor gauge before adjusting.
Q3. Why does the dental chair handpiece lose power or leak water?
This can result from low air pressure, a clogged water filter, or a worn-out spiral fitting. Also, never run the handpiece without a bur or test rod. Doing so may damage internal bearings due to unbalanced high-speed rotation.
Q4. What causes the dental chair’s curing light to stop working?
Curing lights may stop working if the bulb is burned out, the lamp foot is oxidized, the power supply voltage is off, or the fuse is damaged. Use a multimeter to test these elements step-by-step before replacing any parts.
Q5. Should I turn off the dental chair at the end of each day?
Yes. Always turn off the water, air, and electrical main switches after daily use. This prevents pressure buildup in the system, extends the lifespan of internal valves and tubing, and reduces the risk of short circuits or leaks overnight.
Q6: How often should I perform these basic maintenance checks?
Basic checks like filter cleaning, suction testing, and visible cable inspection should be done weekly. Water bottle seals and air pressure gauges should be reviewed at least once every two weeks. For light lubrication and motor checks, a monthly schedule is ideal. Daily shut-off procedures should never be skipped.
Q7: Can I use generic replacement parts like bulbs or fuses to save money?
Generic parts may work temporarily, but they often differ in voltage rating, size, or durability. Using non-matching components can damage your chair or void your warranty. Always check the model number and technical specs, or order certified dental chair spare parts from a reputable supplier.
Q8: My chair is an older model. Is it still safe to do these repairs?
Yes, as long as you follow the original manufacturer’s guidelines and avoid opening sealed electronic units. Older chairs may have outdated wiring or worn tubing, so extra caution is needed. Avoid high-voltage work or motor adjustments—those should always be done by a licensed technician.
Q9: What’s the best way to find a reliable dental equipment technician?
Start by checking with the manufacturer or dealer of your dental chair. Many offer service networks or certified partners. You can also ask local clinics for referrals or check technician reviews online. Always confirm experience with your specific chair model before booking a visit.
About the Author


